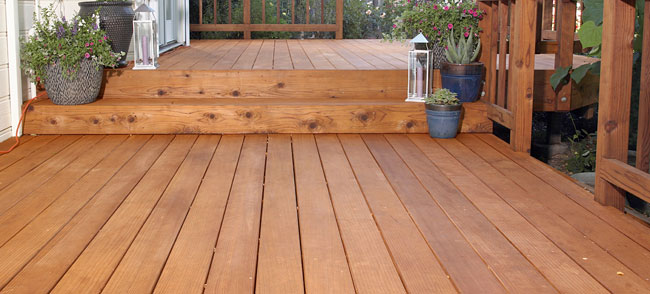
How to Re-Stain an Old Deck
When your deck stain begins to decay and degrade, your deck not only looks bad, but becomes less functional. An old deck with chipping paint or stain can cause wood chips to sliver off and stab your feet, and damage the wood beyond future repair.
Re-staining an old deck, or staining a deck for the first time is a pretty straightforward process that can be done by homeowners without needing to hire a professional.
What Should I Use? Paint vs Stain
When it comes to finishing a deck, both exterior paint and stain are viable options. Generally speaking however, stain is usually the better option. Most stain already contains a preservative, so you won’t need to seal the deck later, and stain offers a more natural look than paint. Stain is also cheaper in most cases.
However, paint will offer more color options and can be easier to maintain.
For this post, we’ll cover specifically how to stain a deck, but the steps will be almost identical for paint. Just be sure to follow the instructions that come with whatever type of paint you purchase.
Materials Needed:
- Deck Stain
- Stir Stick
- Roller
- Paint Brush
- Paint Tray
- Roller with Extension
- Rags
- Power Washer
Getting Started – Cleaning the Deck
Step 1: Pressure Wash the Deck
To begin, you’ll need to clean off the deck to allow it to absorb the stain. If not done properly, the stain won’t take to the deck floor and become spotty. Pressure washing the deck will remove all dirt and debris, along with old stains and finishes or peeling paint.
It also opens up the pores of the deck to allow for proper absorption.
When using the pressure washer, use the fan setting. This should make the stream about as wide as one or two deck boards when held 8-10 inches away. However the width of the stream and how close you need to hold the hose will depend on the strength of your pressure washer.
Find a width and distance that remove the dirt from the boards and spray along the deck boards with the grain of the wood. Walk up and down the entire length of the deck to wash each board thoroughly. If you change the direction you’re spraying, it could leave a mark on the board.
After you finish, you’ll need to allow at least 24 hours for the deck to dry completely.
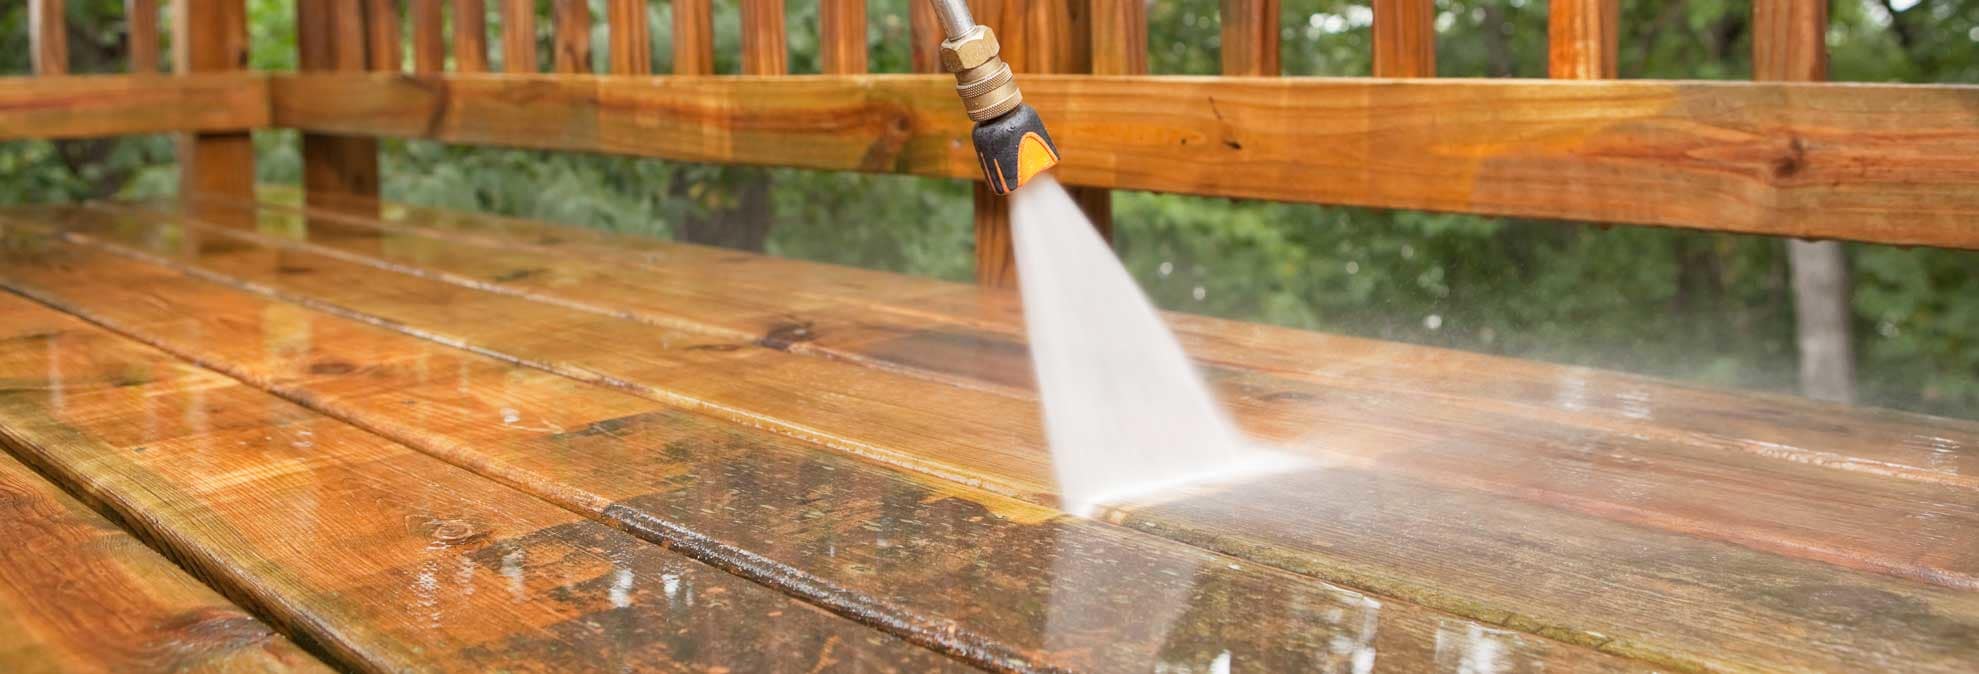
source: consumer reports
Step 2: Fix any Damage
Now is the time to fix any damage or make any repairs that you may need to fix. If your deck is old, it’s possible that the pressure washer caused some chips or mild damage.
Make sure there are no screws that are sticking up or that have become loose. Now is the best time to fix any structural issues that may have arisen. You may need to replace any boards that may be damaged beyond the point of repair. It’s better to just replace a damaged board if you’re unsure if it’s repairable or not.
Step 3: Apply the Stain/Paint
Before starting to stain the deck, double check to make sure that the deck is completely dry and free of any debris.
You’ll also want to check the weather forecast and pick a time when it isn’t supposed to rain for 48-72 hours. Try not to apply the stain in the direct sun. It will dry too quickly and unevenly.
If you’re working with a water-based stain, a synthetic brush will work best for working the stain into the wood. For the larger areas of the deck, a roller will be the easiest option.
Tip: Mix a couple of cans of your stain together in a bigger container to ensure color consistency throughout.
How to Apply the Stain to the Deck
Start by working in a small and inconspicuous area using your brush to ensure that the stain will take to the deck, and that you have the correct color.
Next, begin staining in long, thin coats, keeping your brush at about a 45 degree angle, working the stain into the wood.
Two thin coats of stain are better than one thick coat.
Once you are in an open area away from the walls, you can begin to use your roller. Work with the direction of the wood, staining two boards at a time.
Be sure to keep a wet edge when you pick up your roller to keep the color consistent and avoid leaving an edge.
One extra step that isn’t completely necessary, but will enable the stain to absorb into the deck better is to have someone take an old cloth and scrub the stain into the wood behind the roller. This will be much more time consuming and may require an extra coat, but it will allow a much more consistent color, with better absorbed stain.

Source: Bob Vila
Repeat this process for any railing or steps that are attached to the deck, using your brush. Make sure to get into any cracks or end grain areas.
Allow at least 24 hours before using the deck, but check the instructions on the stain for the exact time it needs to dry.
Door Installation Has Never Been Easier
- Install 5X Faster
- Eliminate Shims
- Perfect Fit Every Time