How to Install a Railing Over a Stair Opening
Over time, the handrail on your stairs can become weak or loosened and need replacing. If your railing covers the stairwell opening, it’s important that you make sure it is installed correctly for safety reasons.
If the proper steps are followed, this is a job that you can do yourself without needing to hire anyone.
Things you’ll need:
- Stair Railing Kit
- 2 Rail Posts
- Drill
- Spade Bit
- Wood Glue
- Level
- Nail Gun
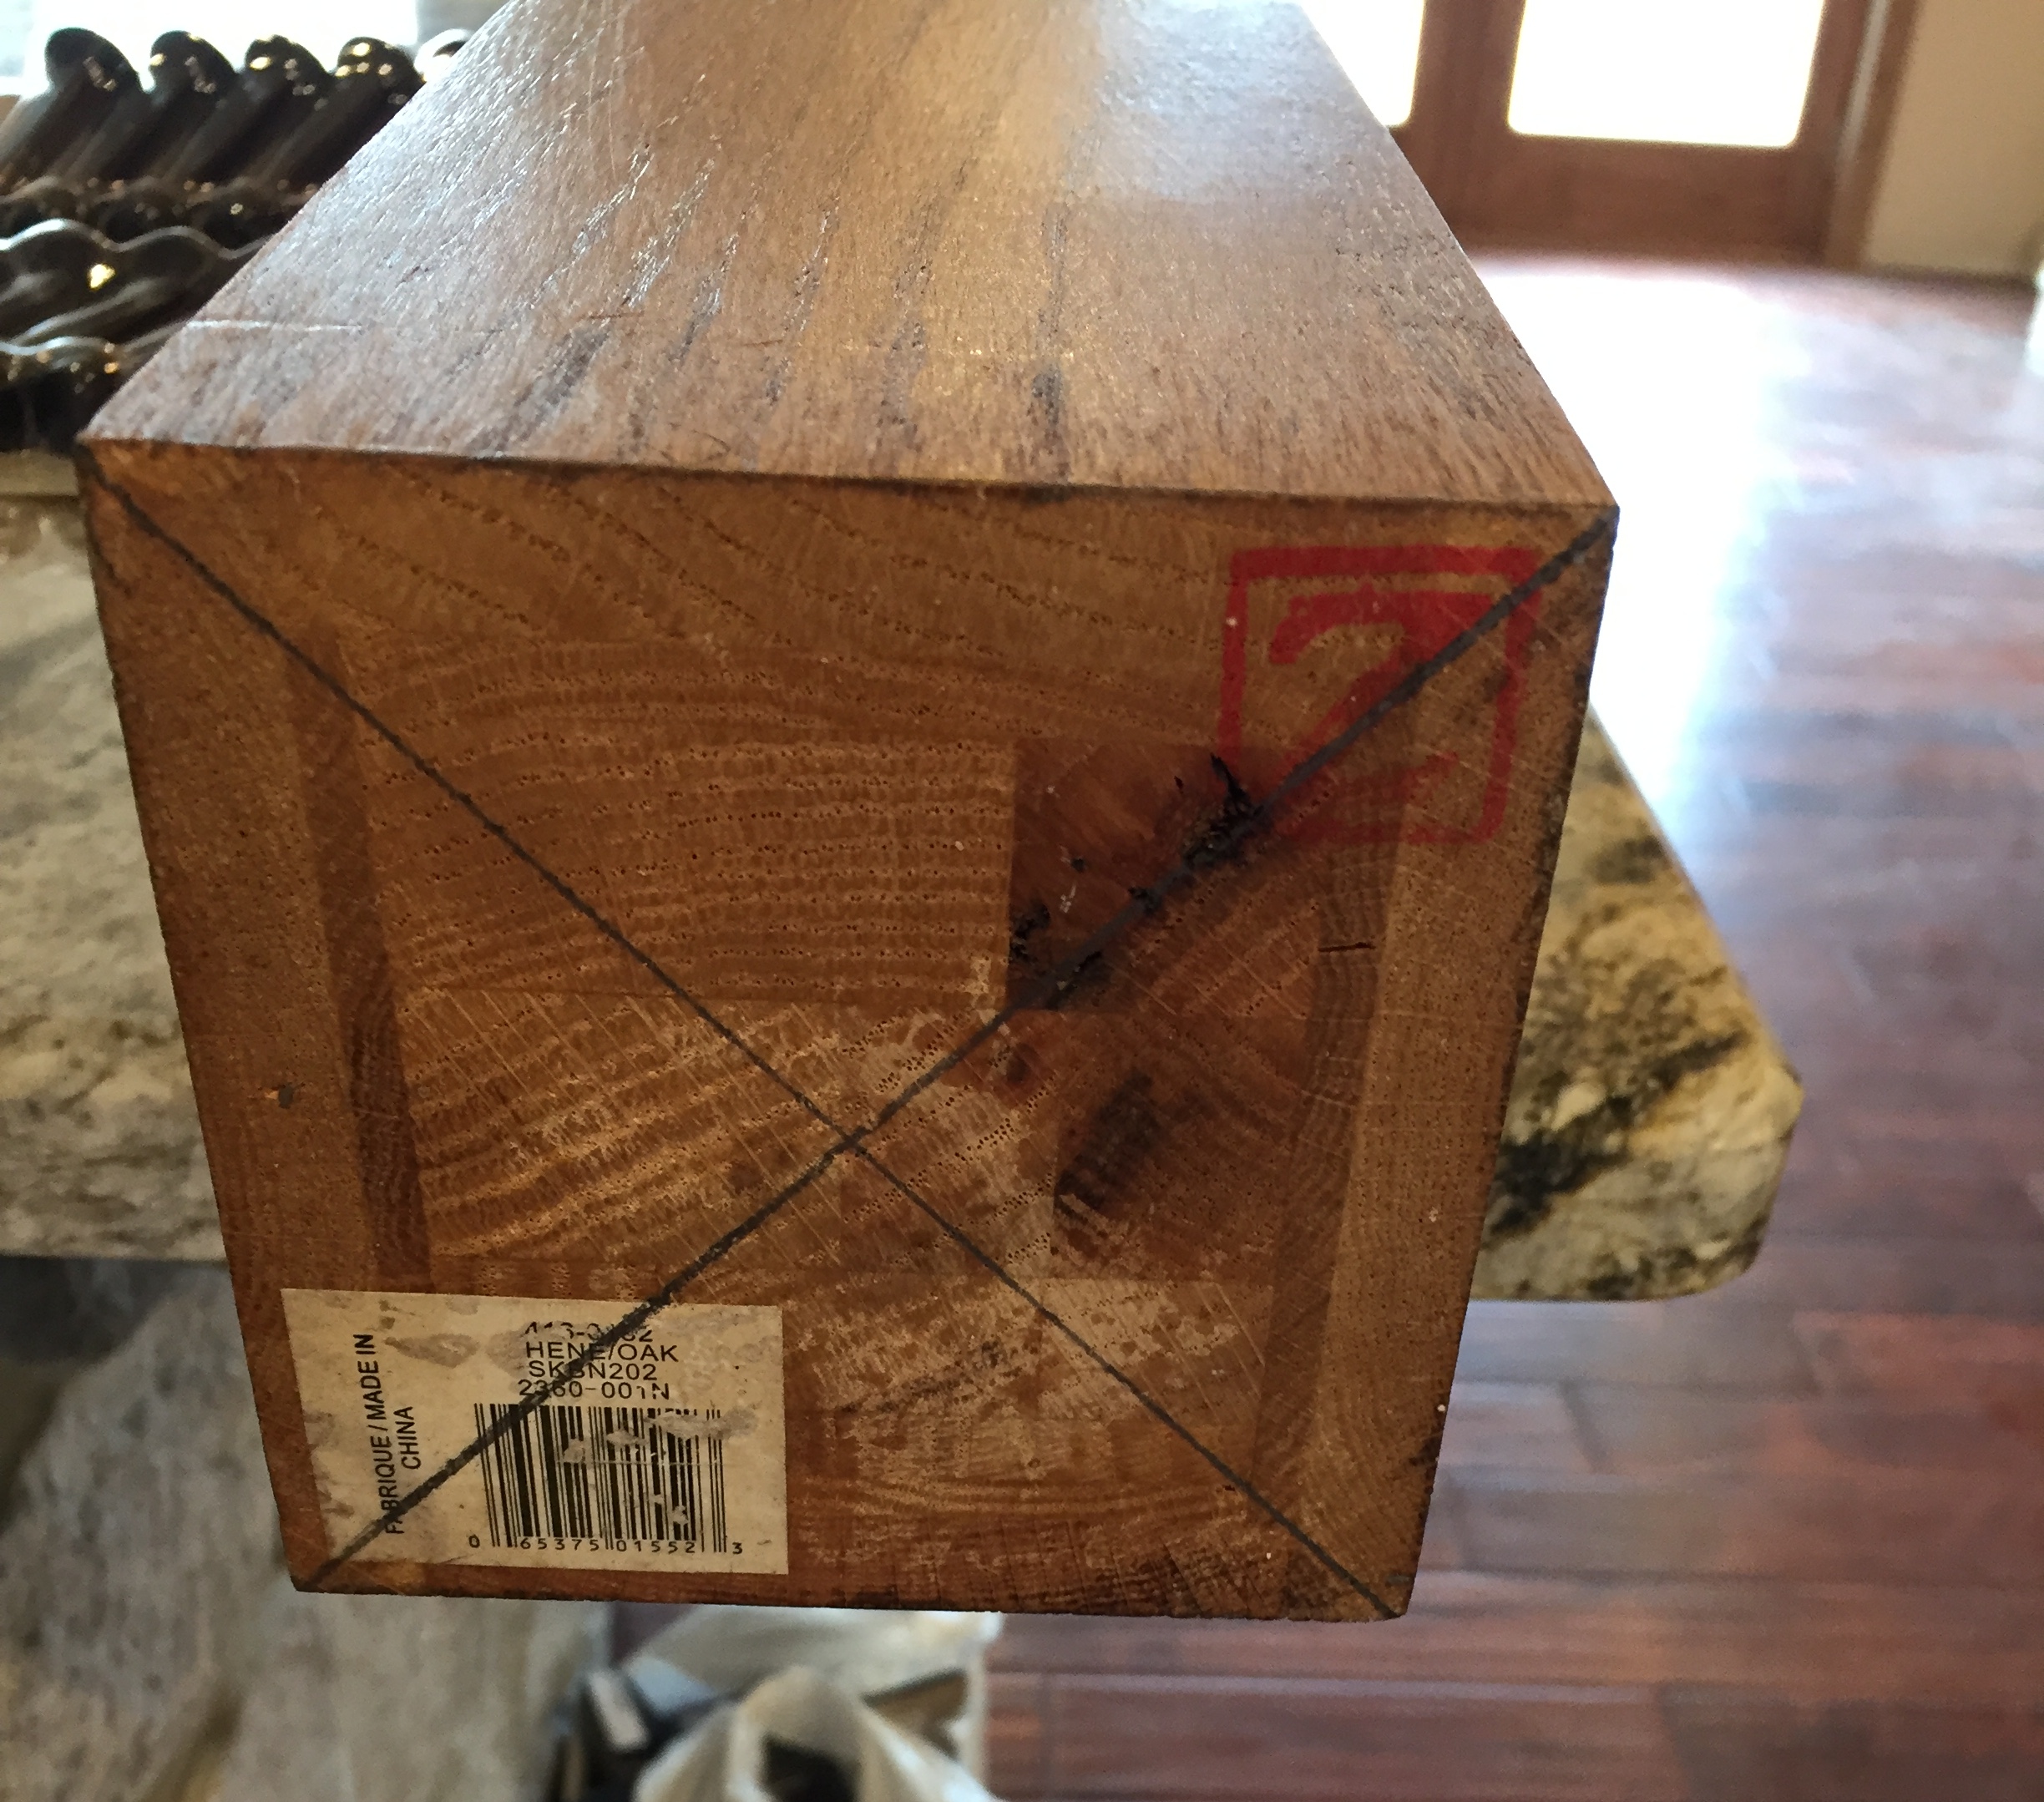
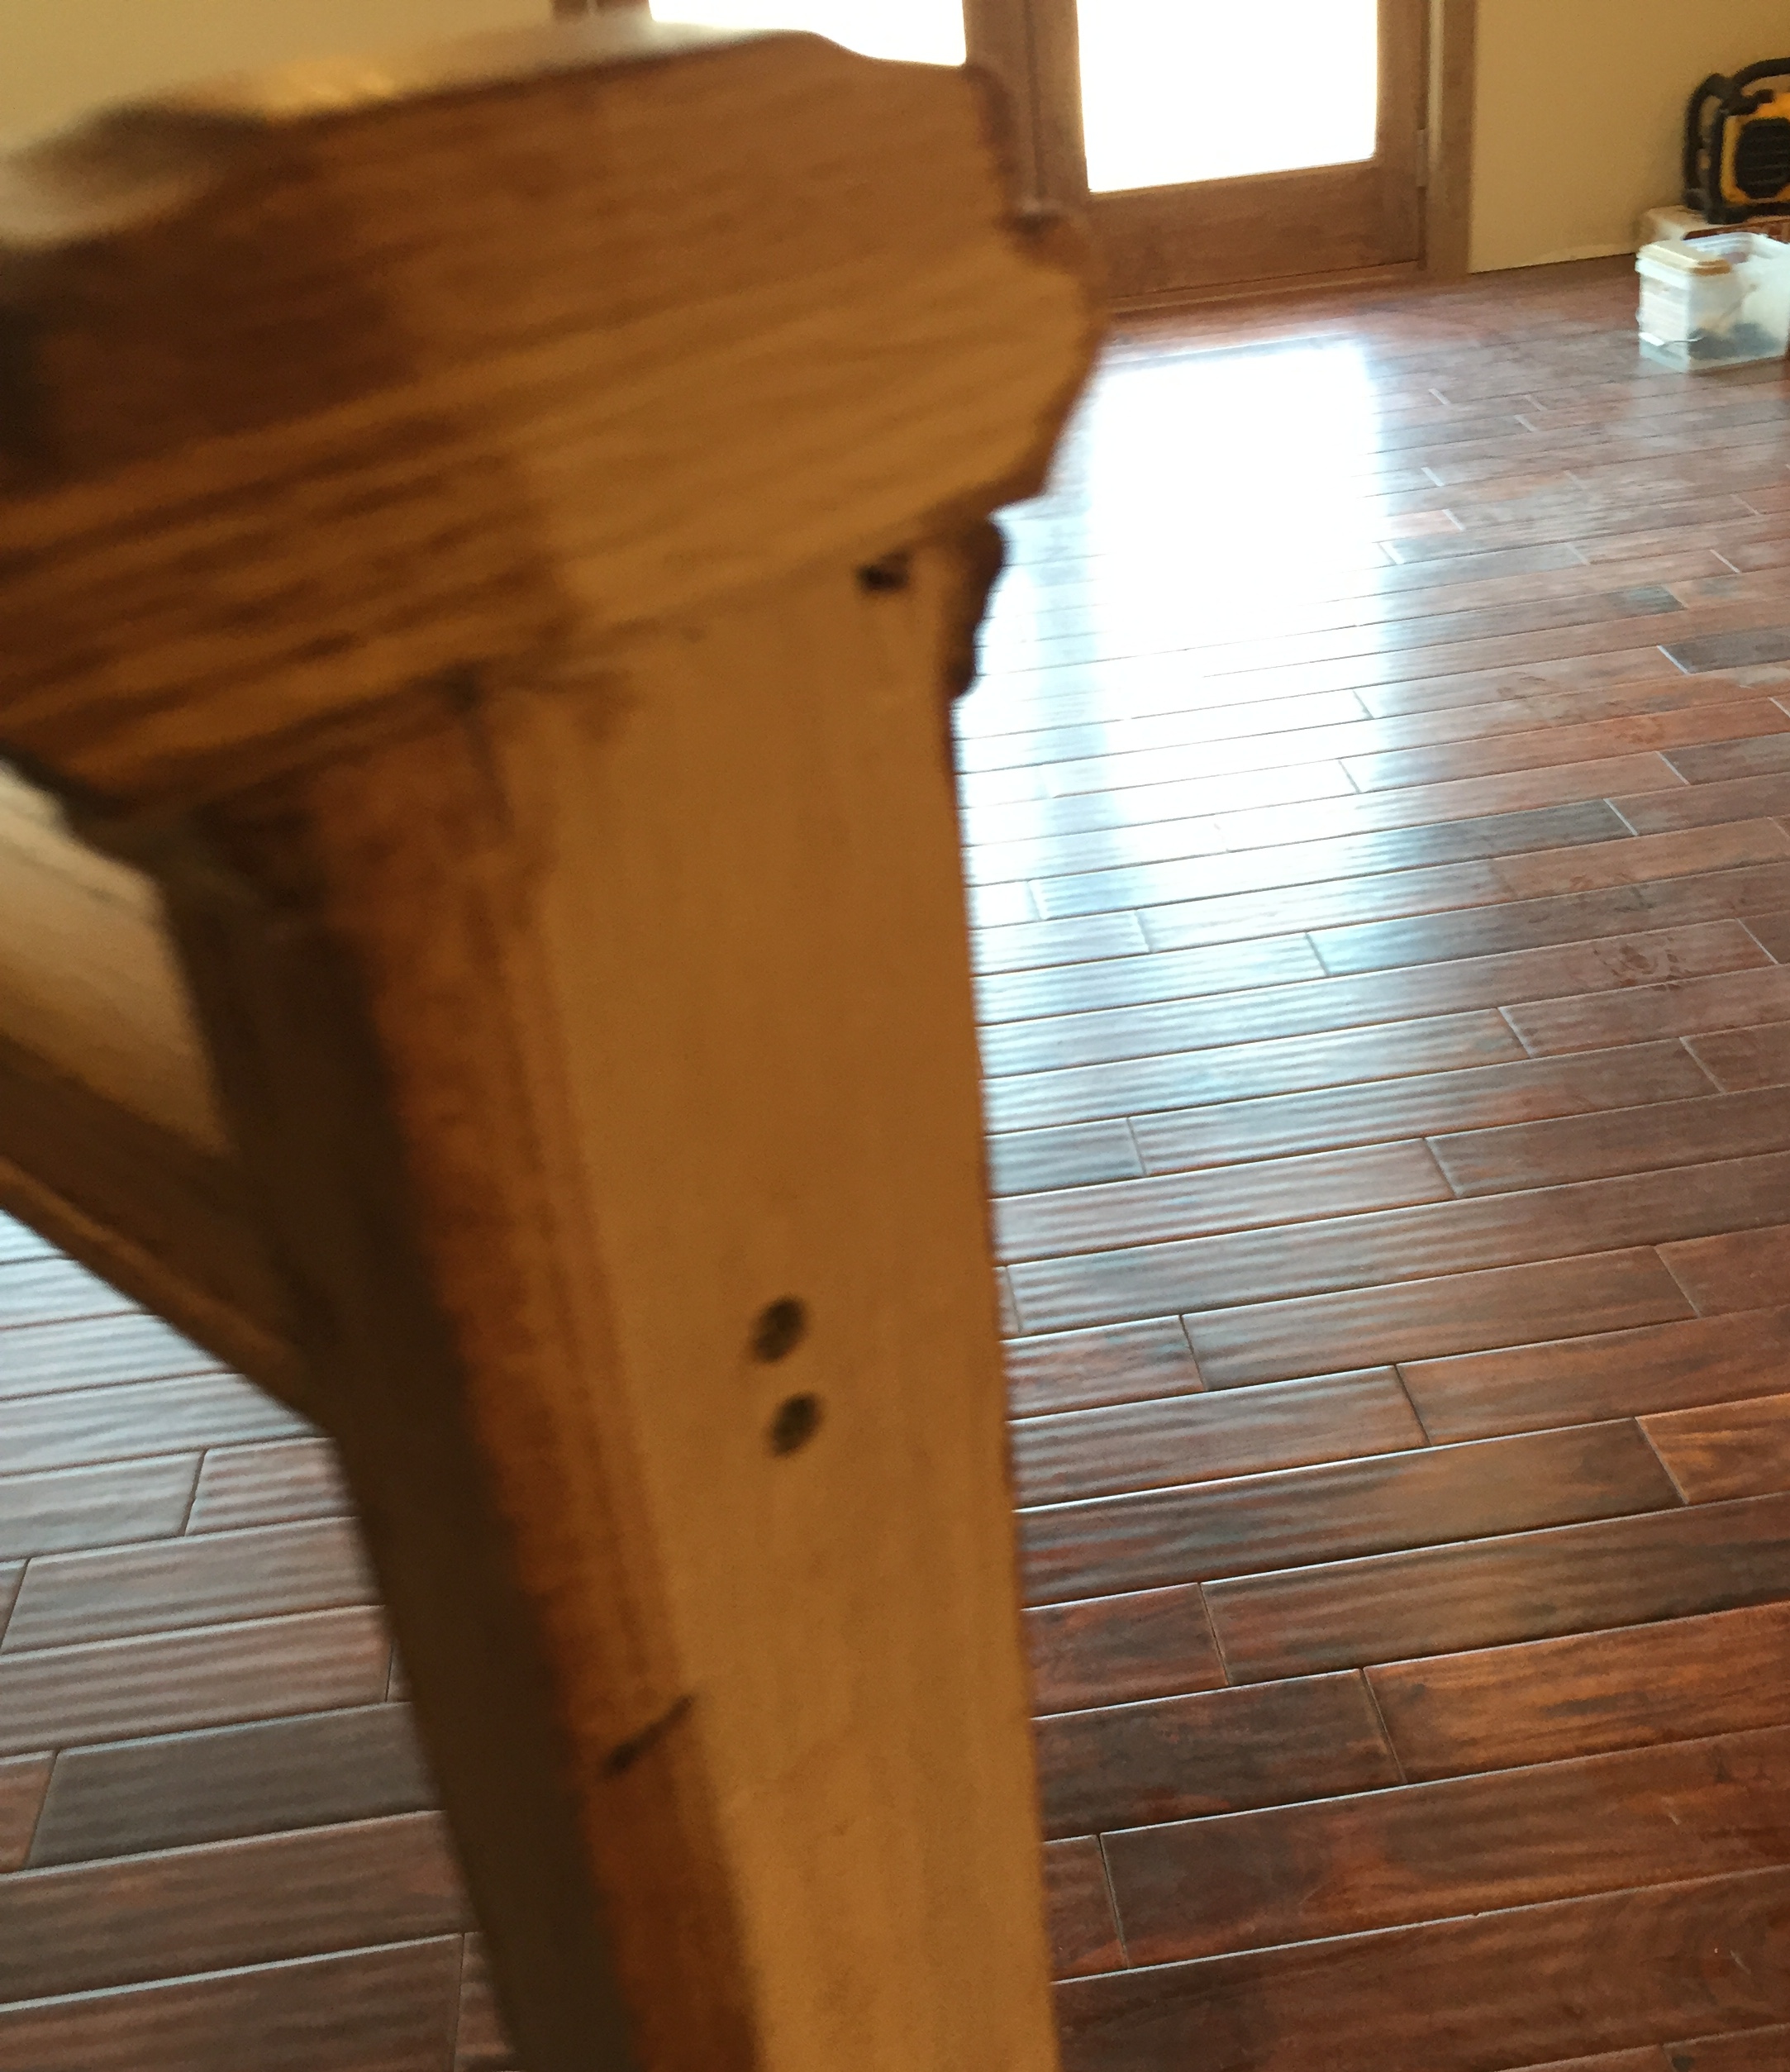
Step 1: Install the Rail Posts
The first step will be to install the rail posts. These will serve as the main source of support for the railing.
For this example, we’ll be using a dowel to secure the post. These next few steps will be for the first post that sits at the opening at the top of the stairway.
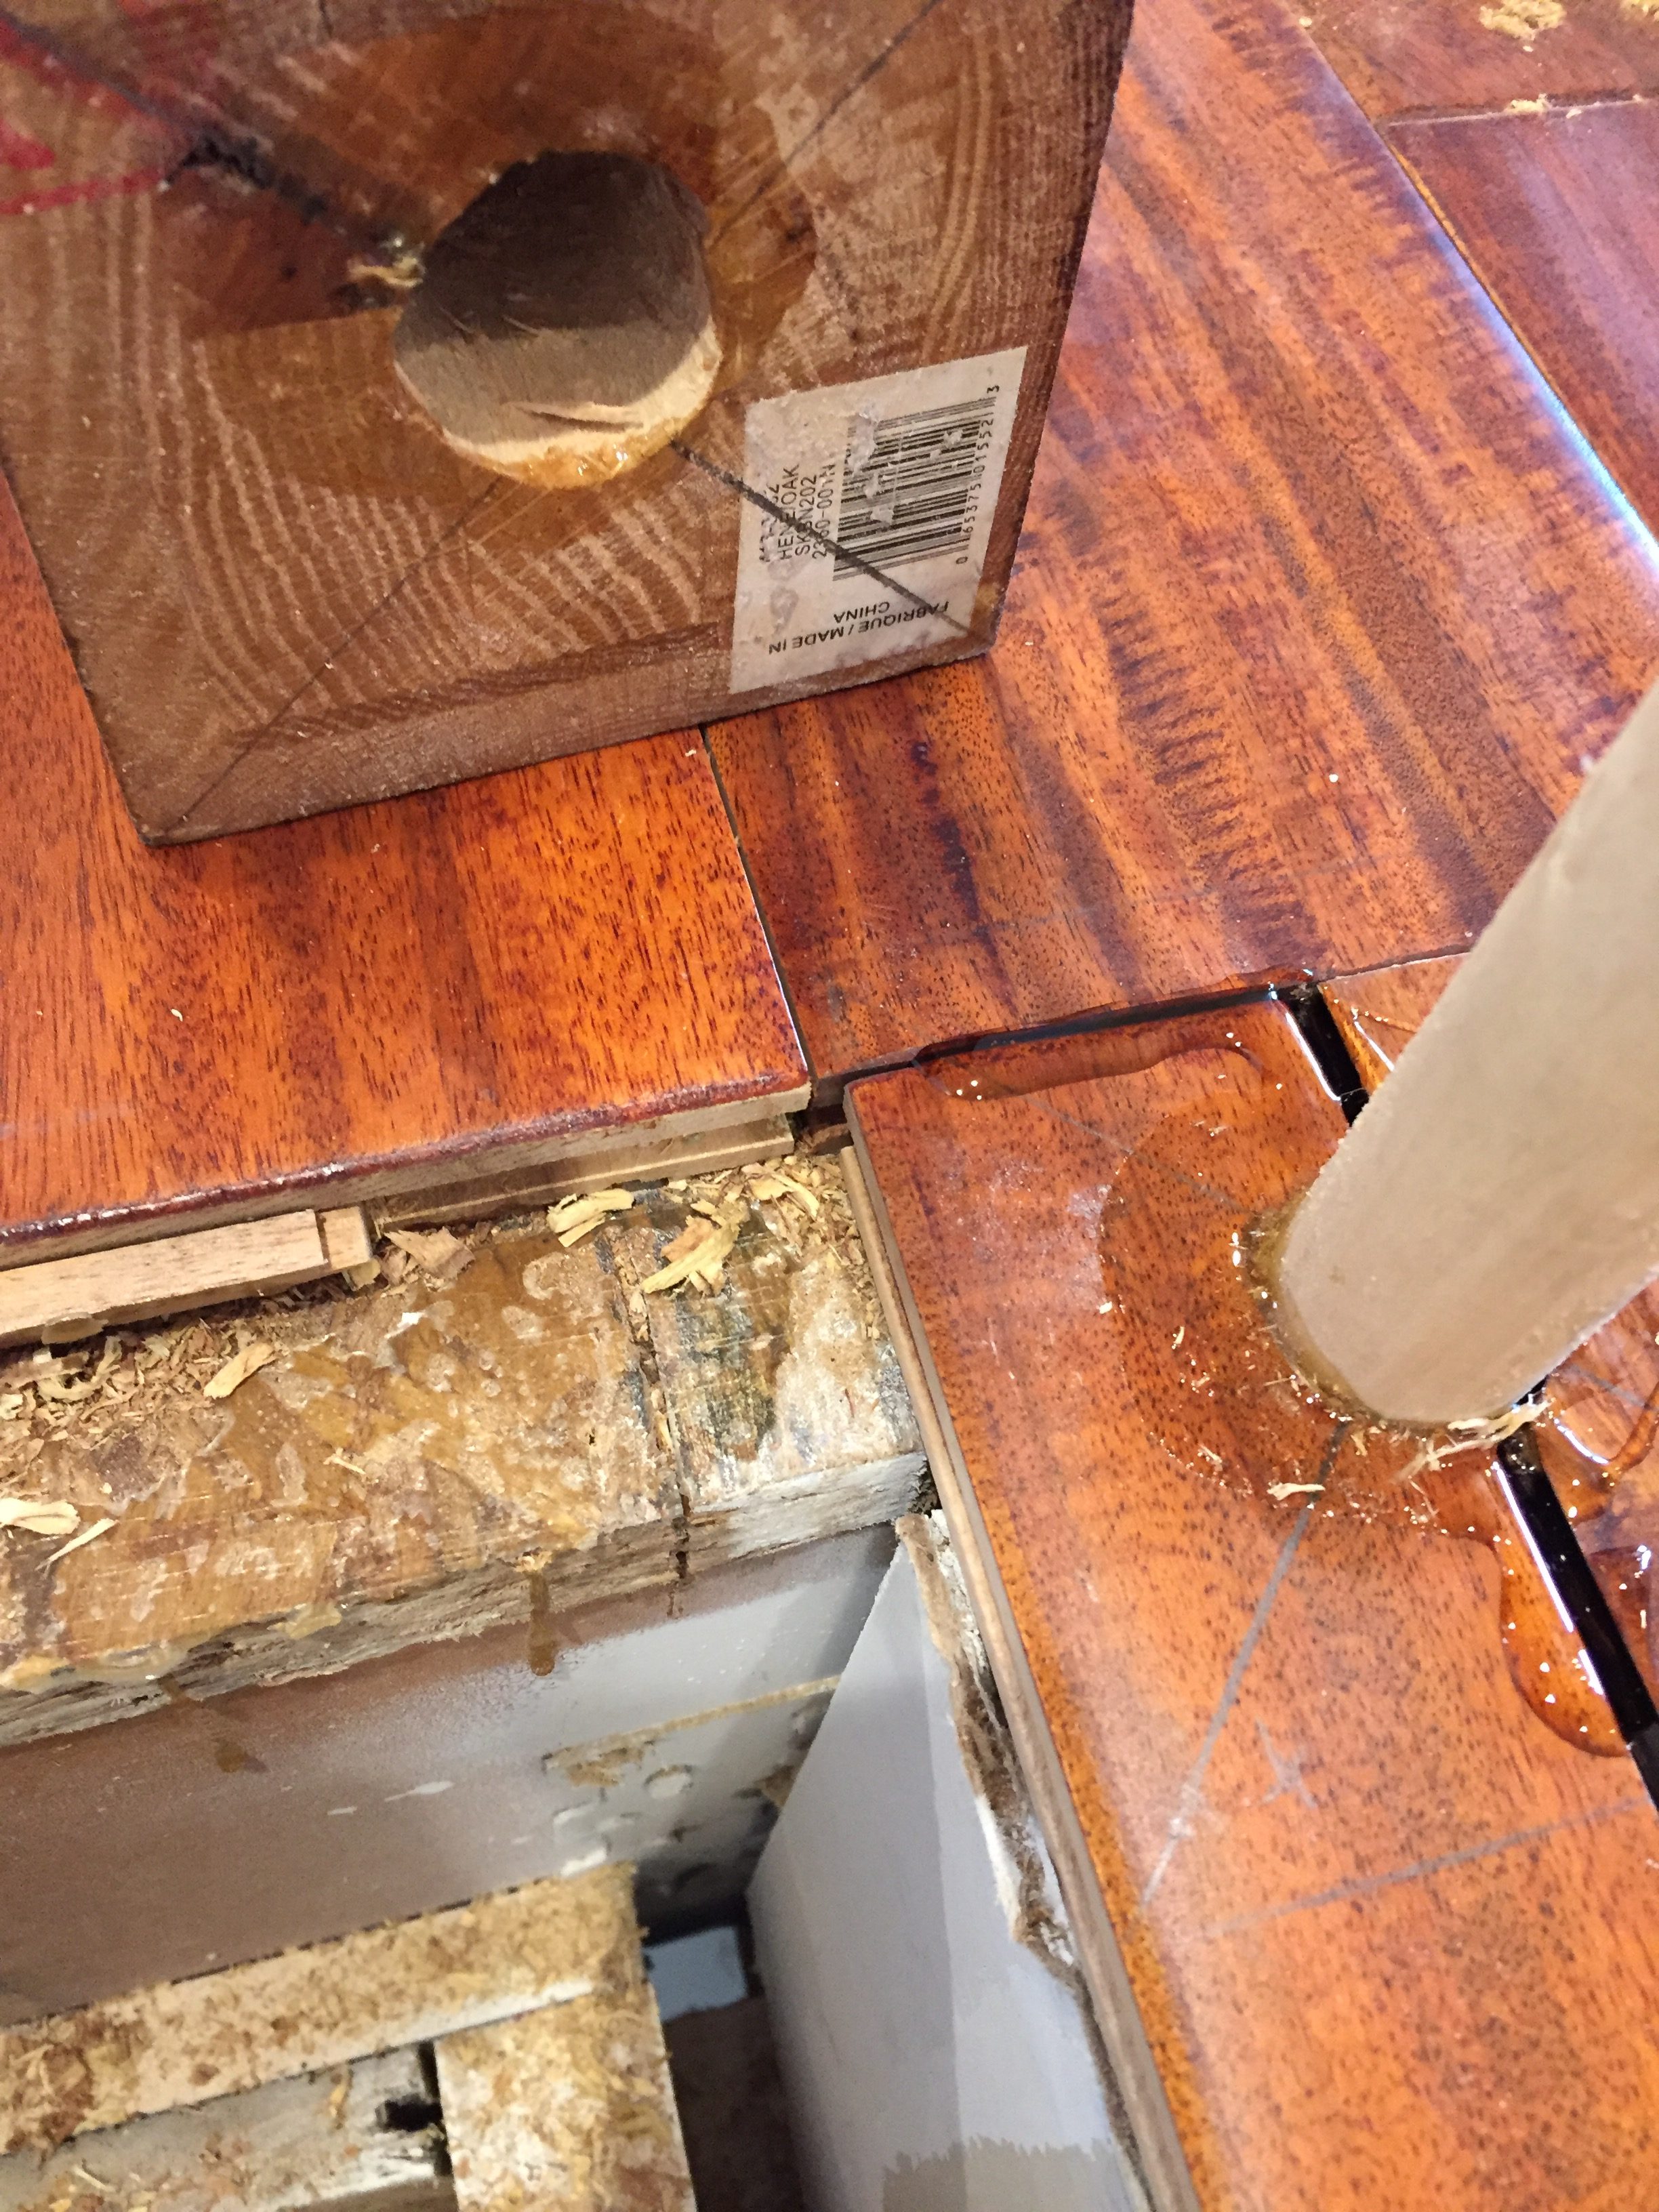
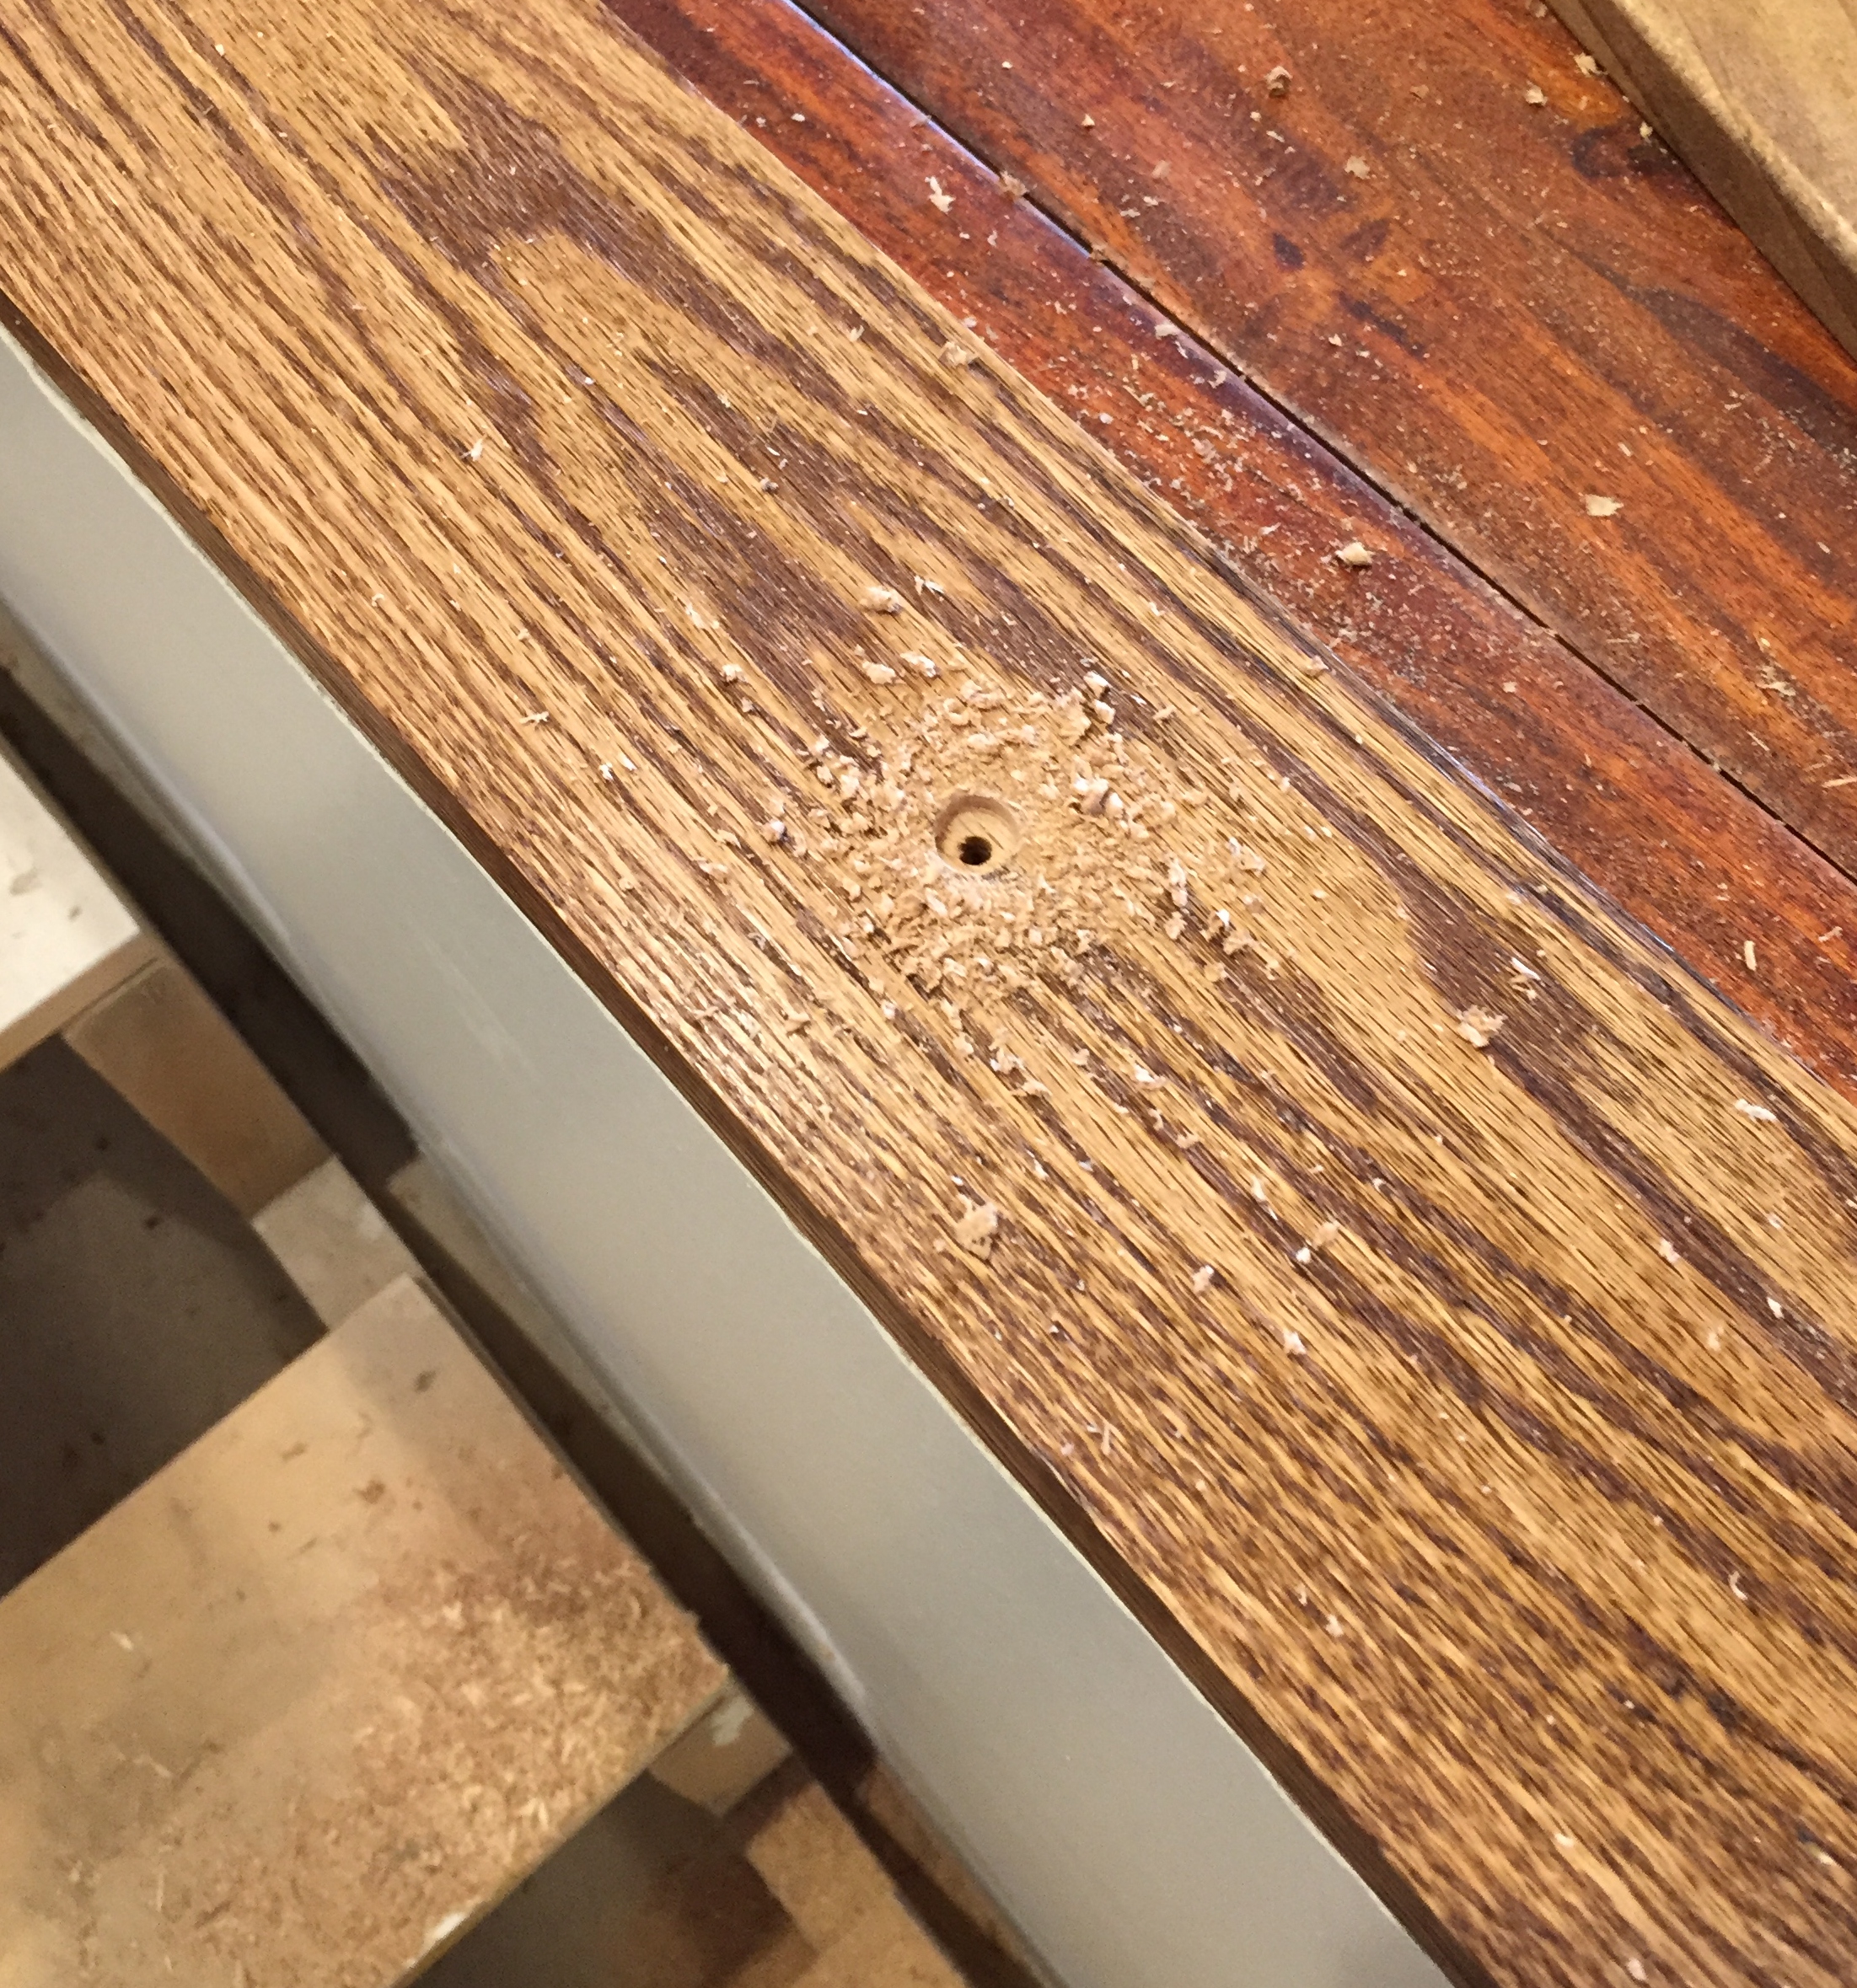
Start by marking the middle of the bottom of the post so the dowel will be perfectly centered, then mark the spot on the floor that will be cut to hold the dowel.
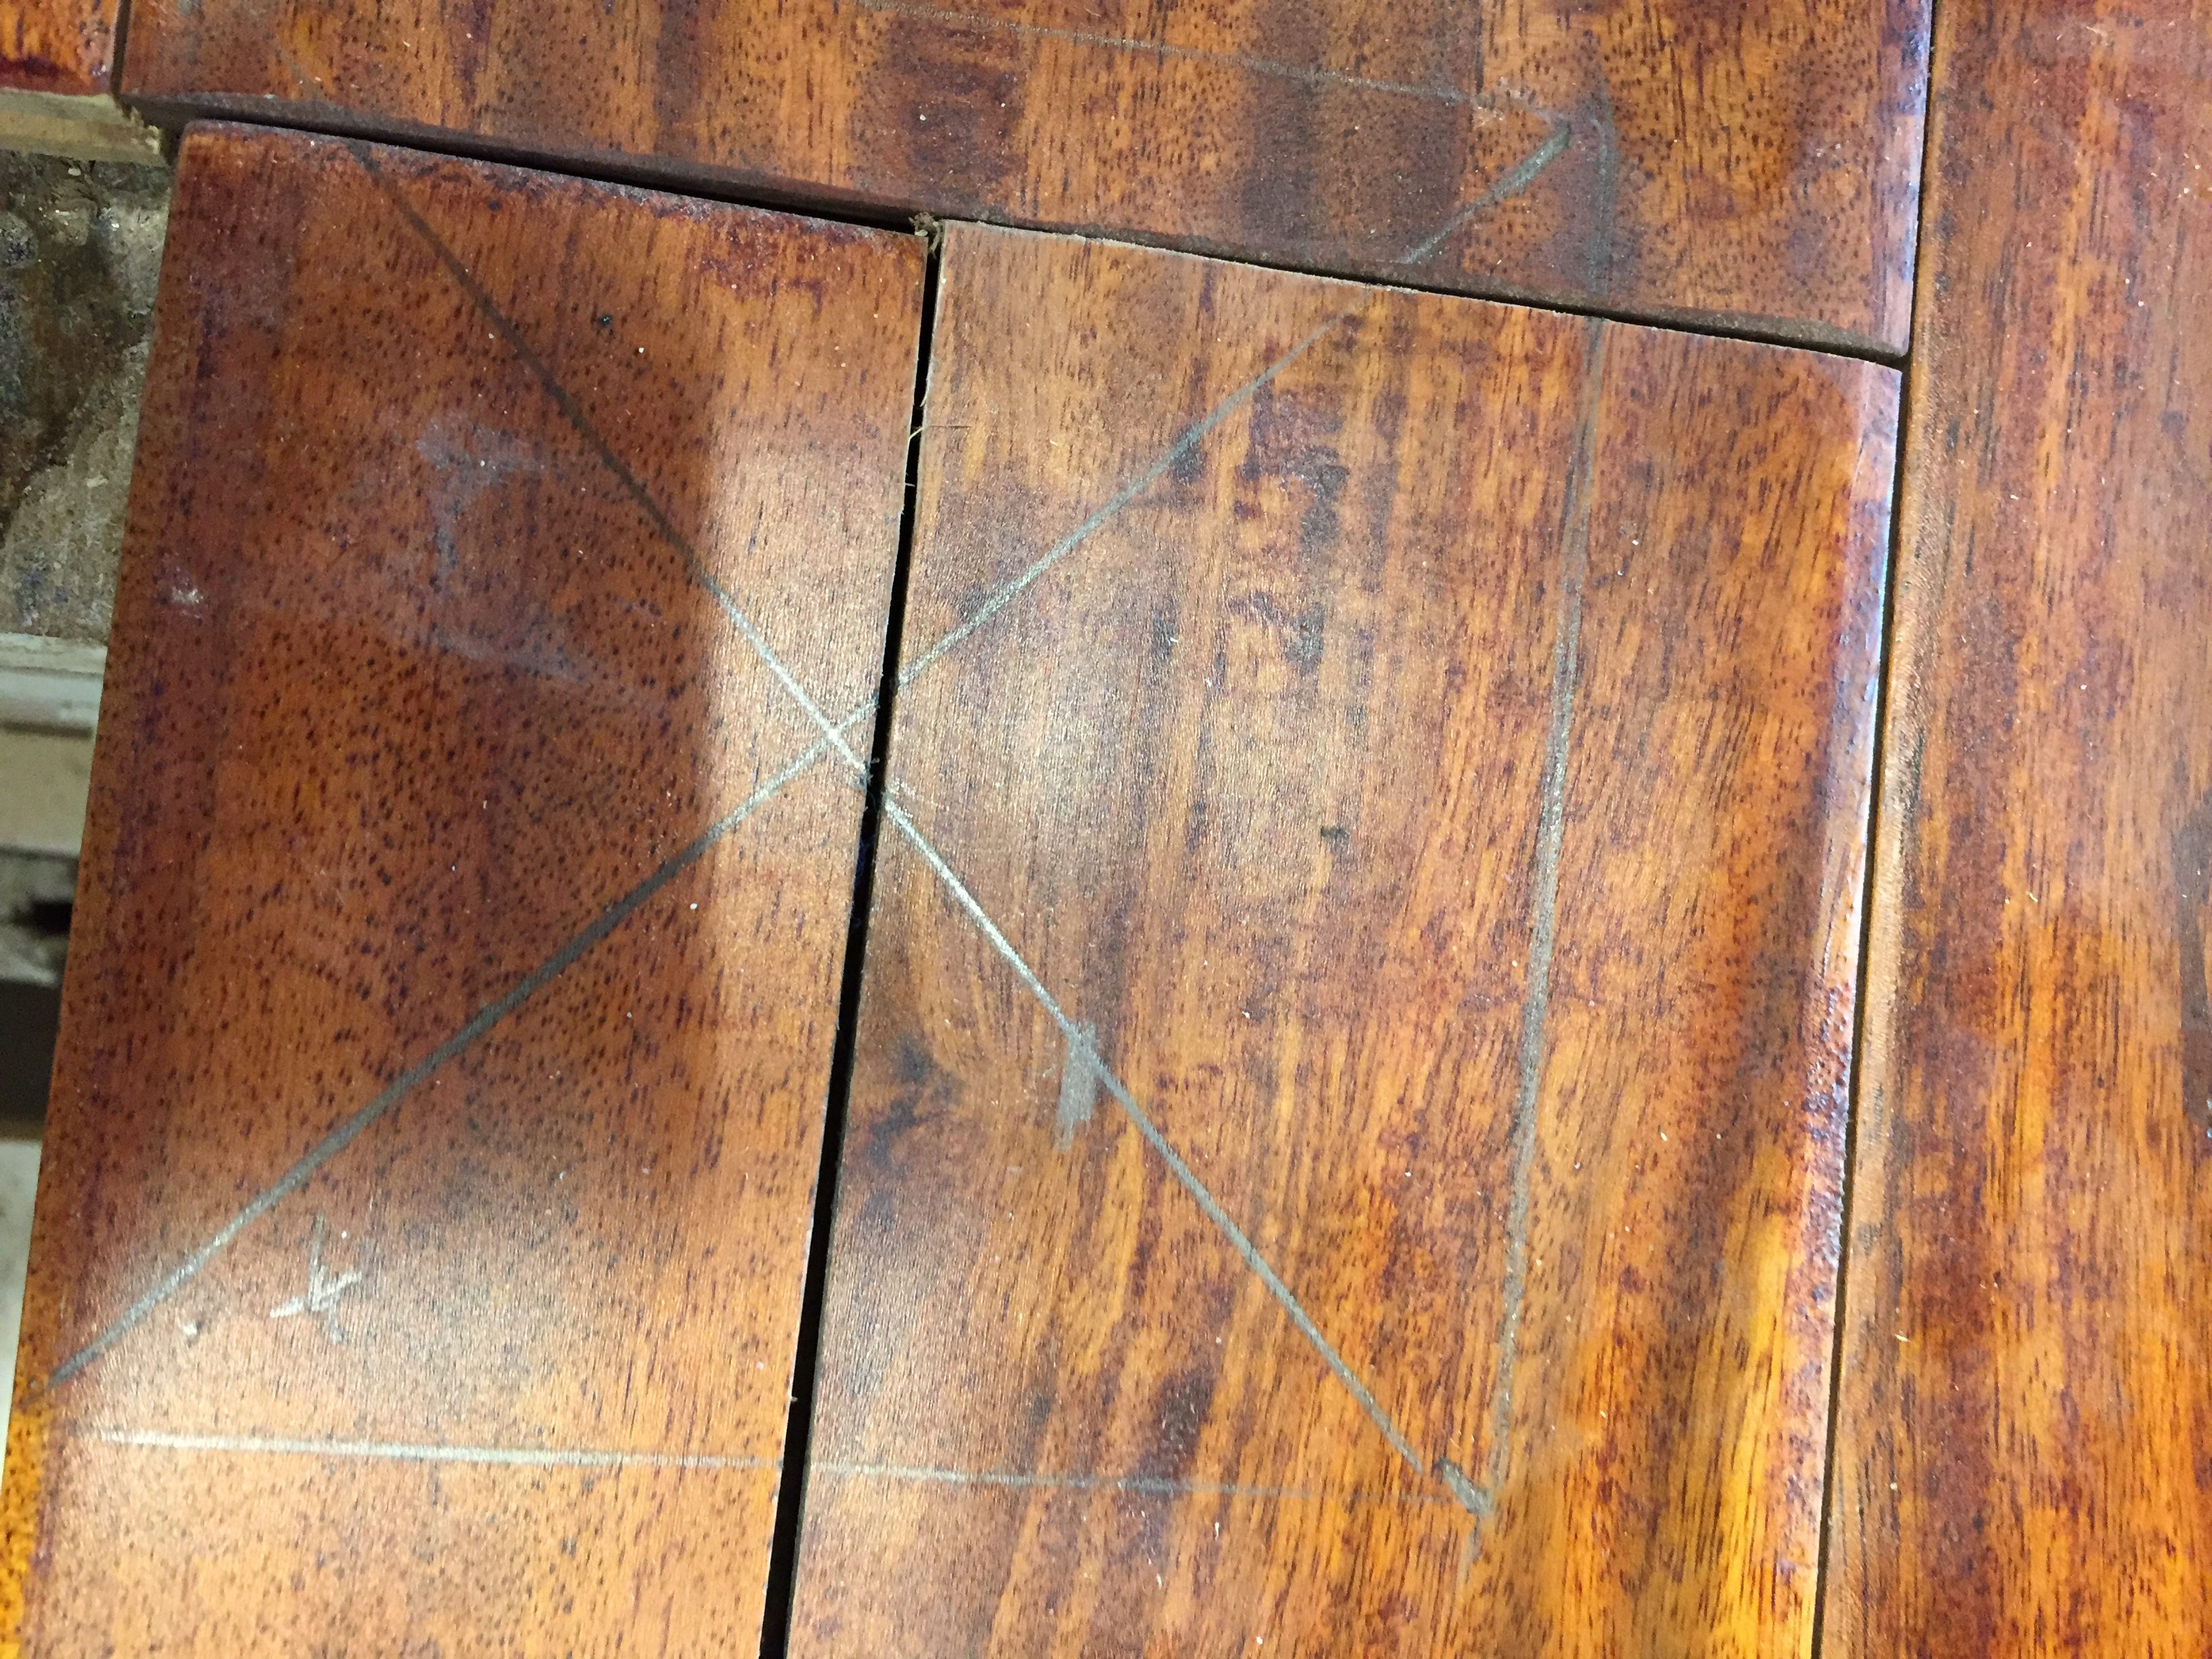
Now you’re ready to drill the holes for the dowel to fit into. Start by drilling a pilot hole, then use your spade bit to drill the holes. Makes sure that you measure the correct depth you’ll need the holes and that your spade bit matches the size of the dowel. You don’t want any extra space in the hole for the dowel to move.
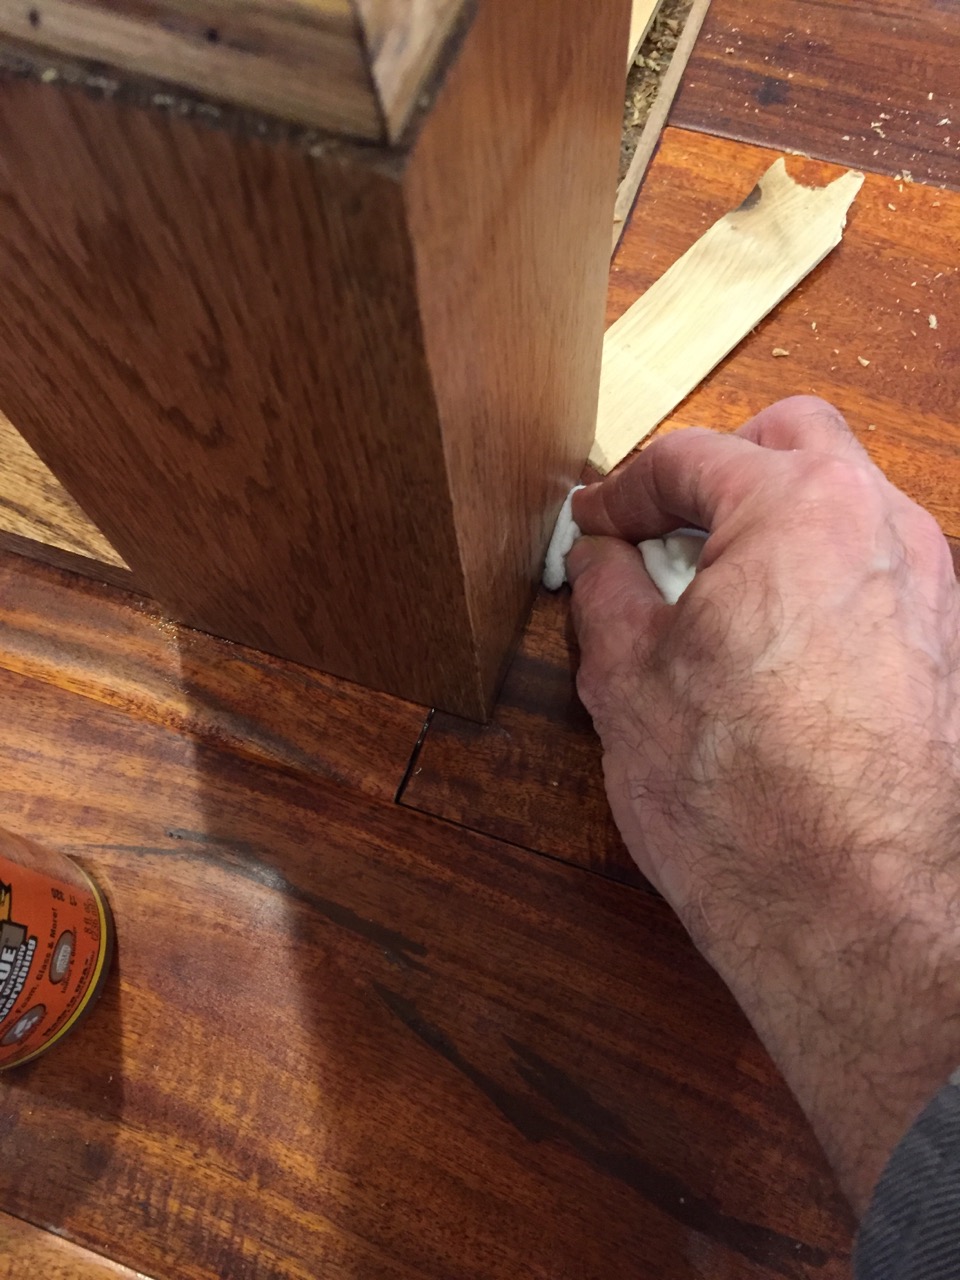
Add some wood glue to the dowel before inserting it into the holes. Then clean up any excess glue that may have leaked out the edges.
It’s best to allow the glue time to drive over night before moving on if possible.
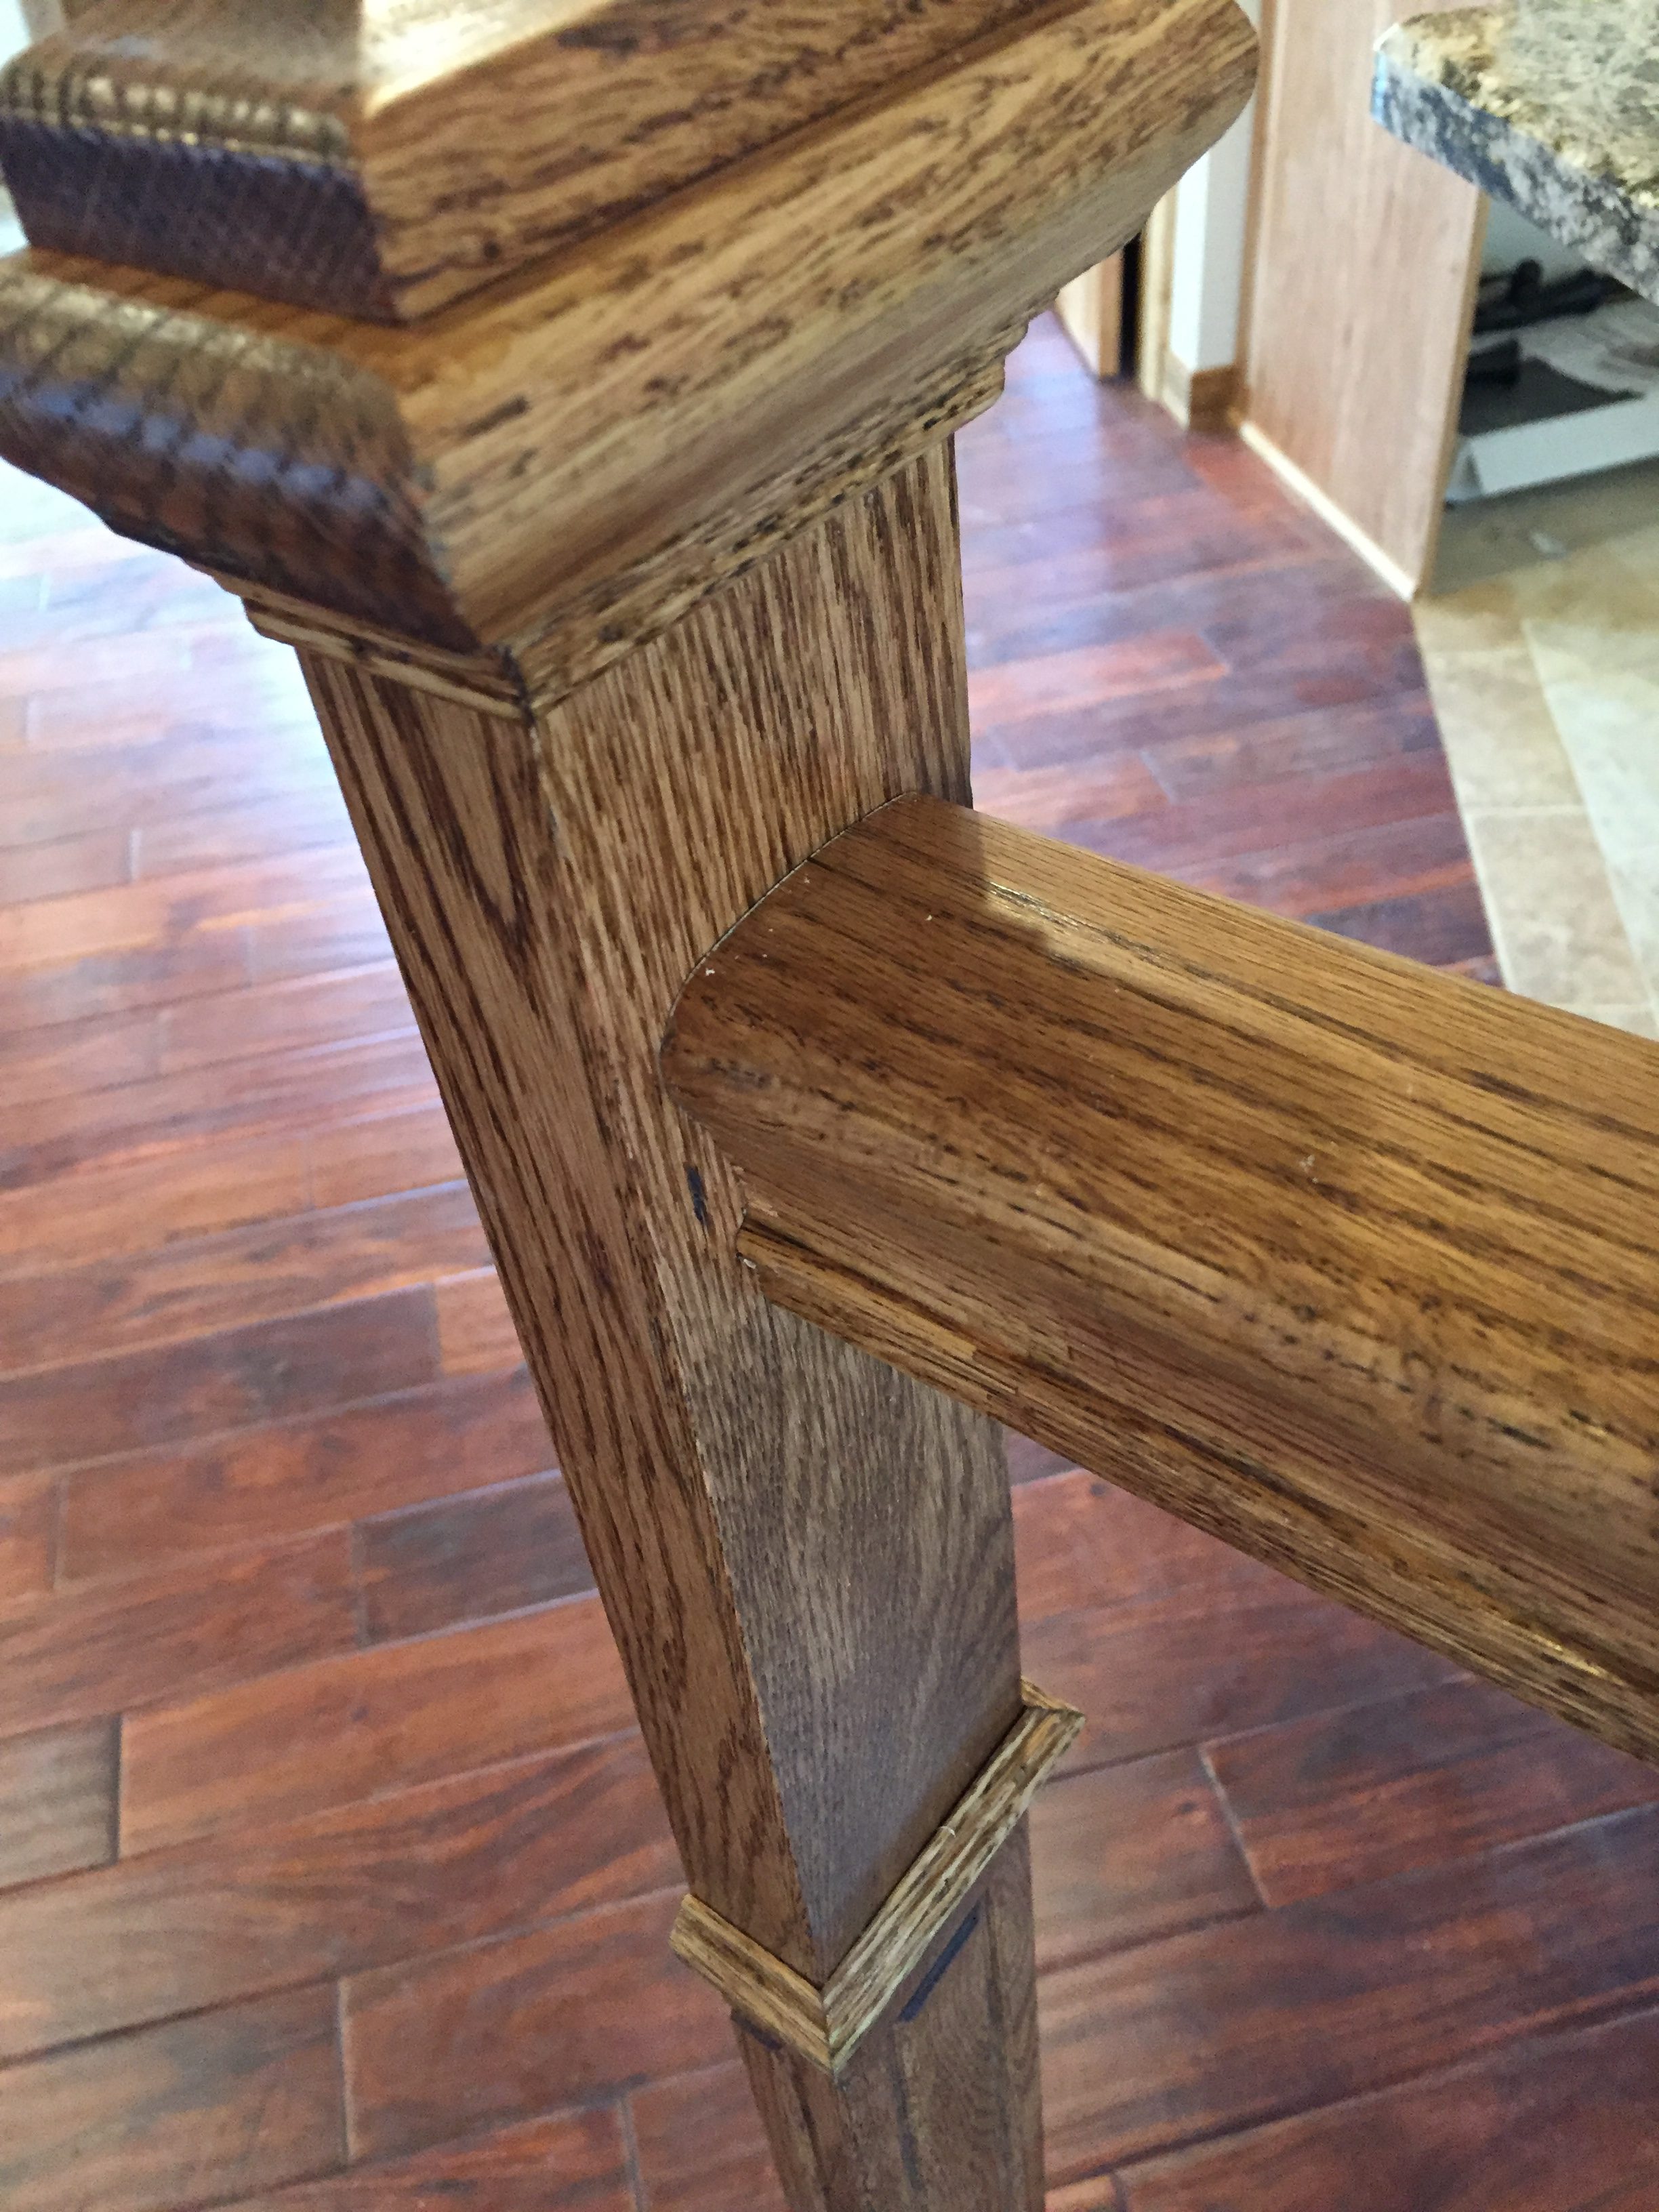
Step 2: Set the Top Railing and Second Post
Next, you can install the top railing and the second post. The second post here is a half post that will be attached to the wall.
This will allow us to screw the railing through the back of the post prior to installation so there are no visible screw holes going from this post to the railing.
To do this, use two long screws through the back of the post into the railing.
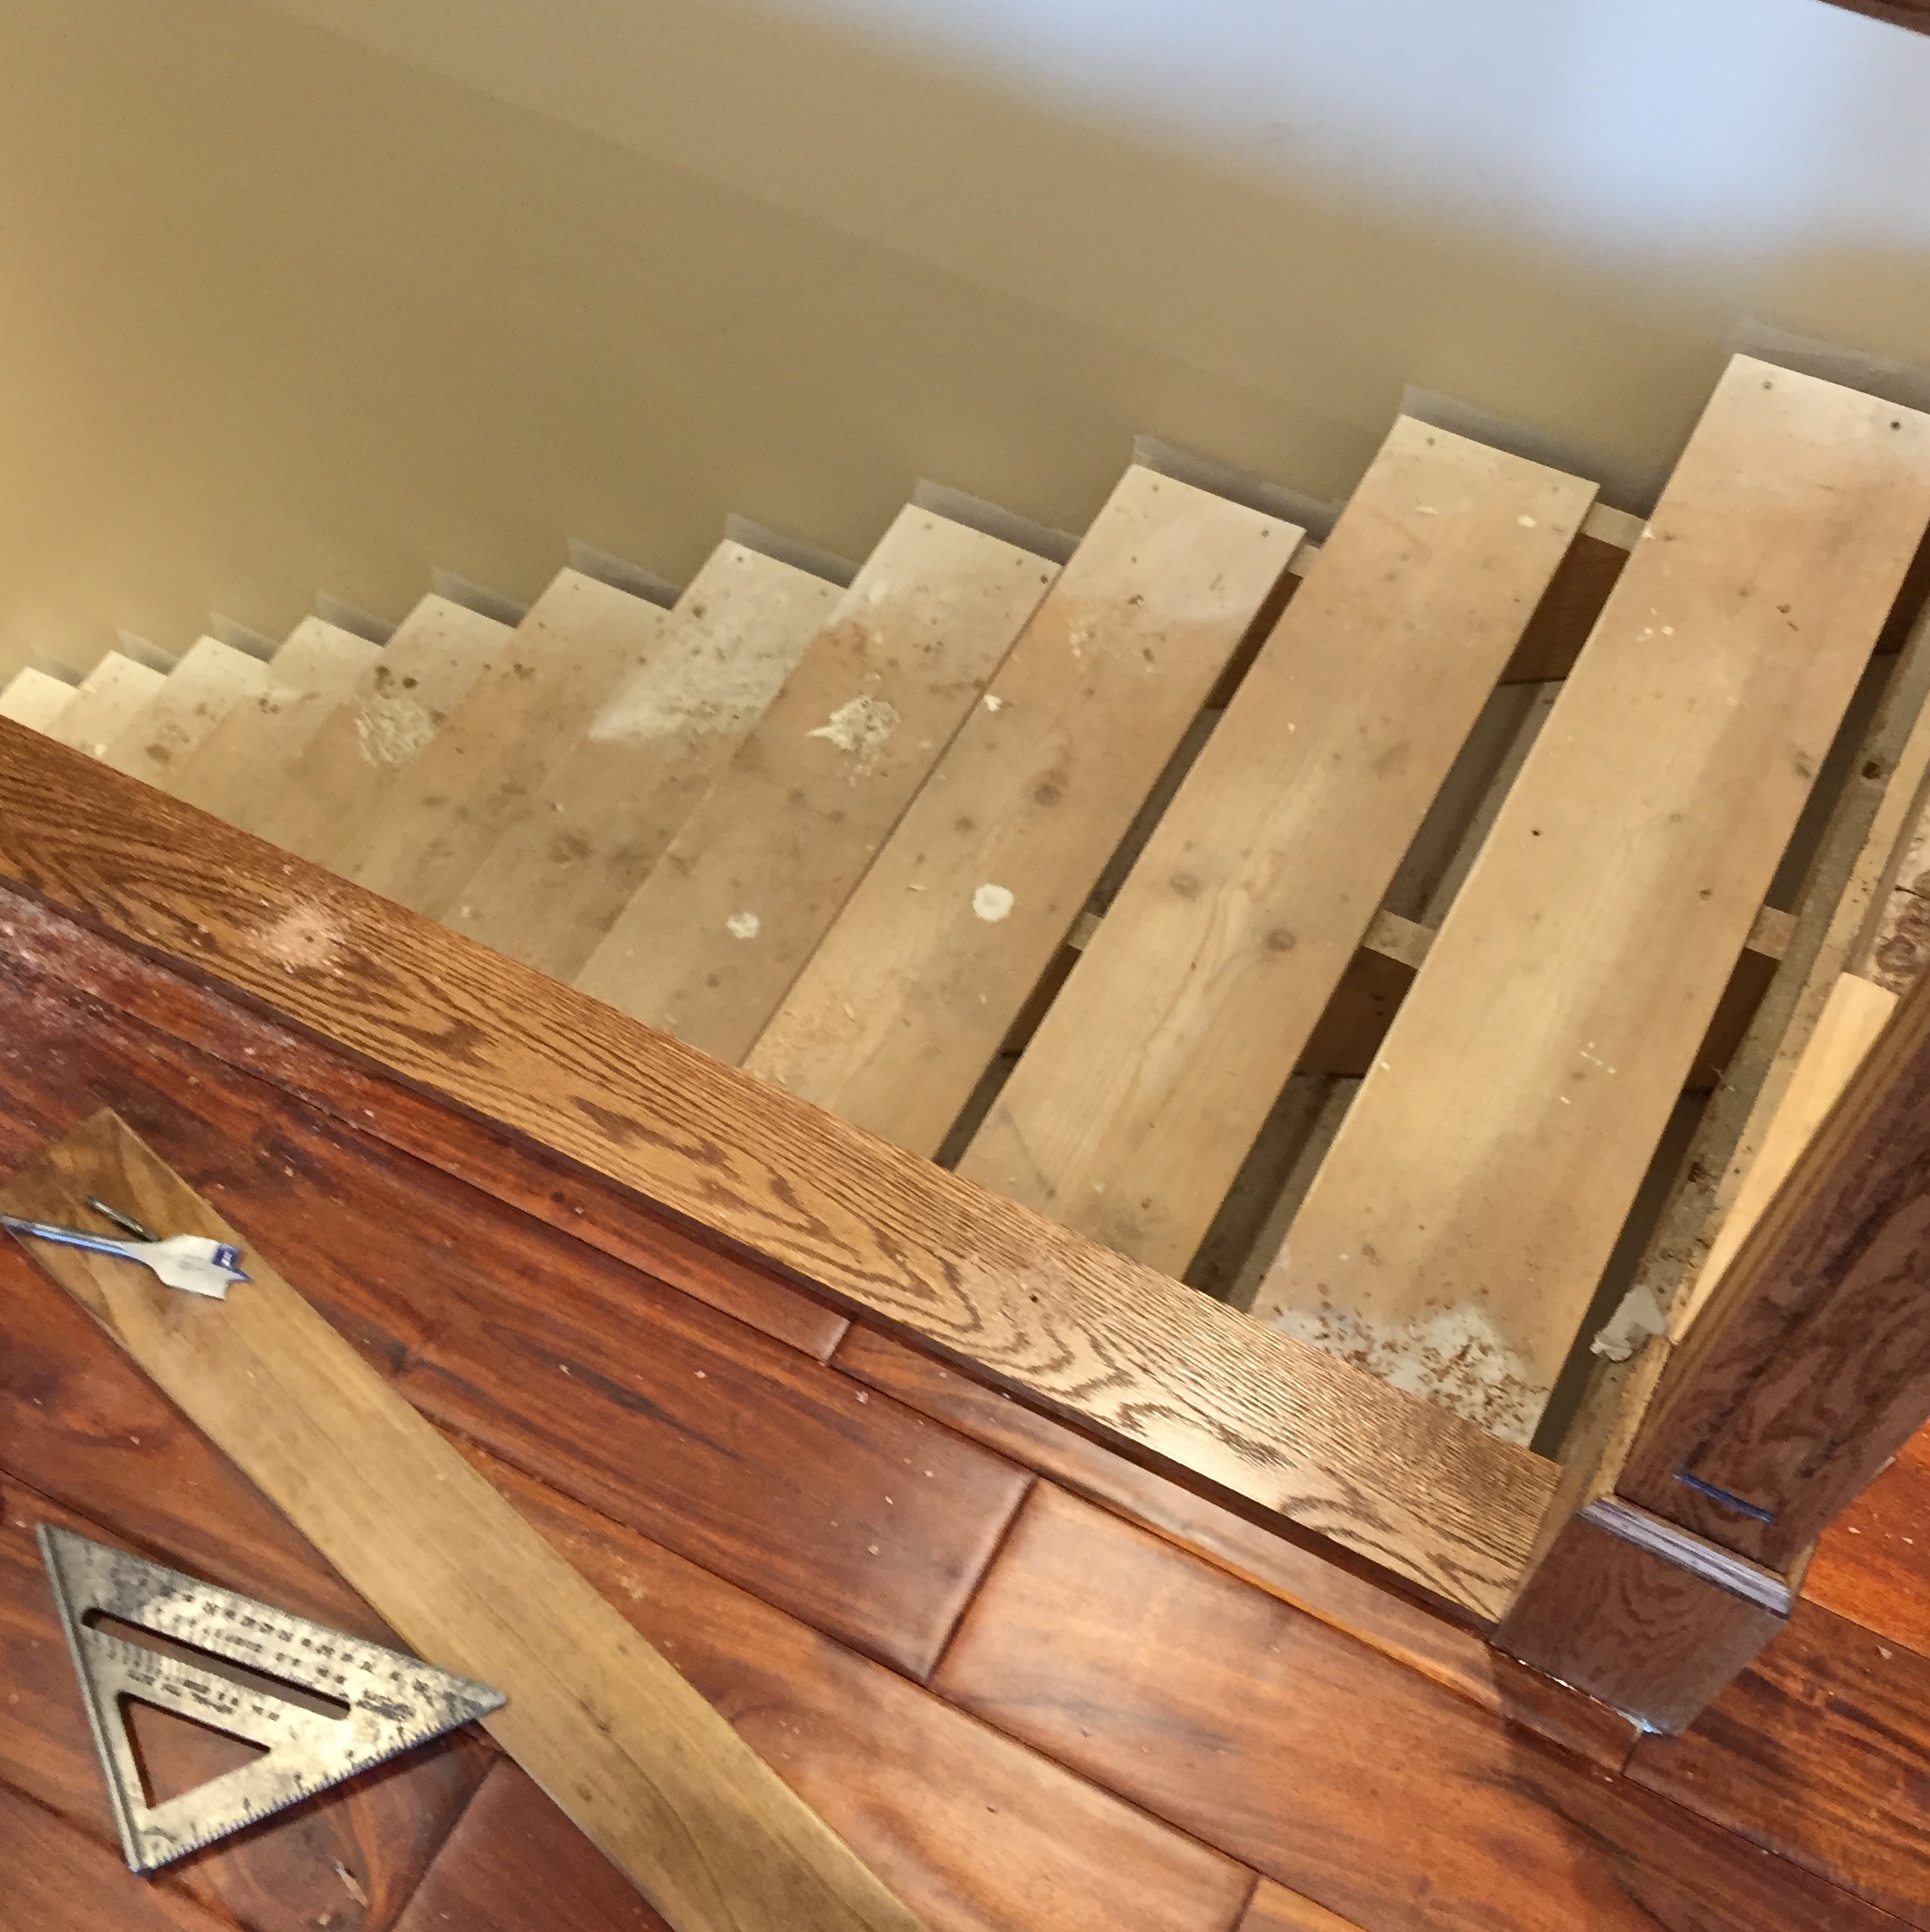
First you’ll need to measure the proper height for the railing and make a mark on the back of the post. Building code requires that guard-rails, as we’re building here, need to be a minimum of 36″ high. Stair hand-rails must be must be 34-38″ from the nose of the stair measured vertically.
After you have the railing attached to the second post, you’re ready to hook the post to the wall.
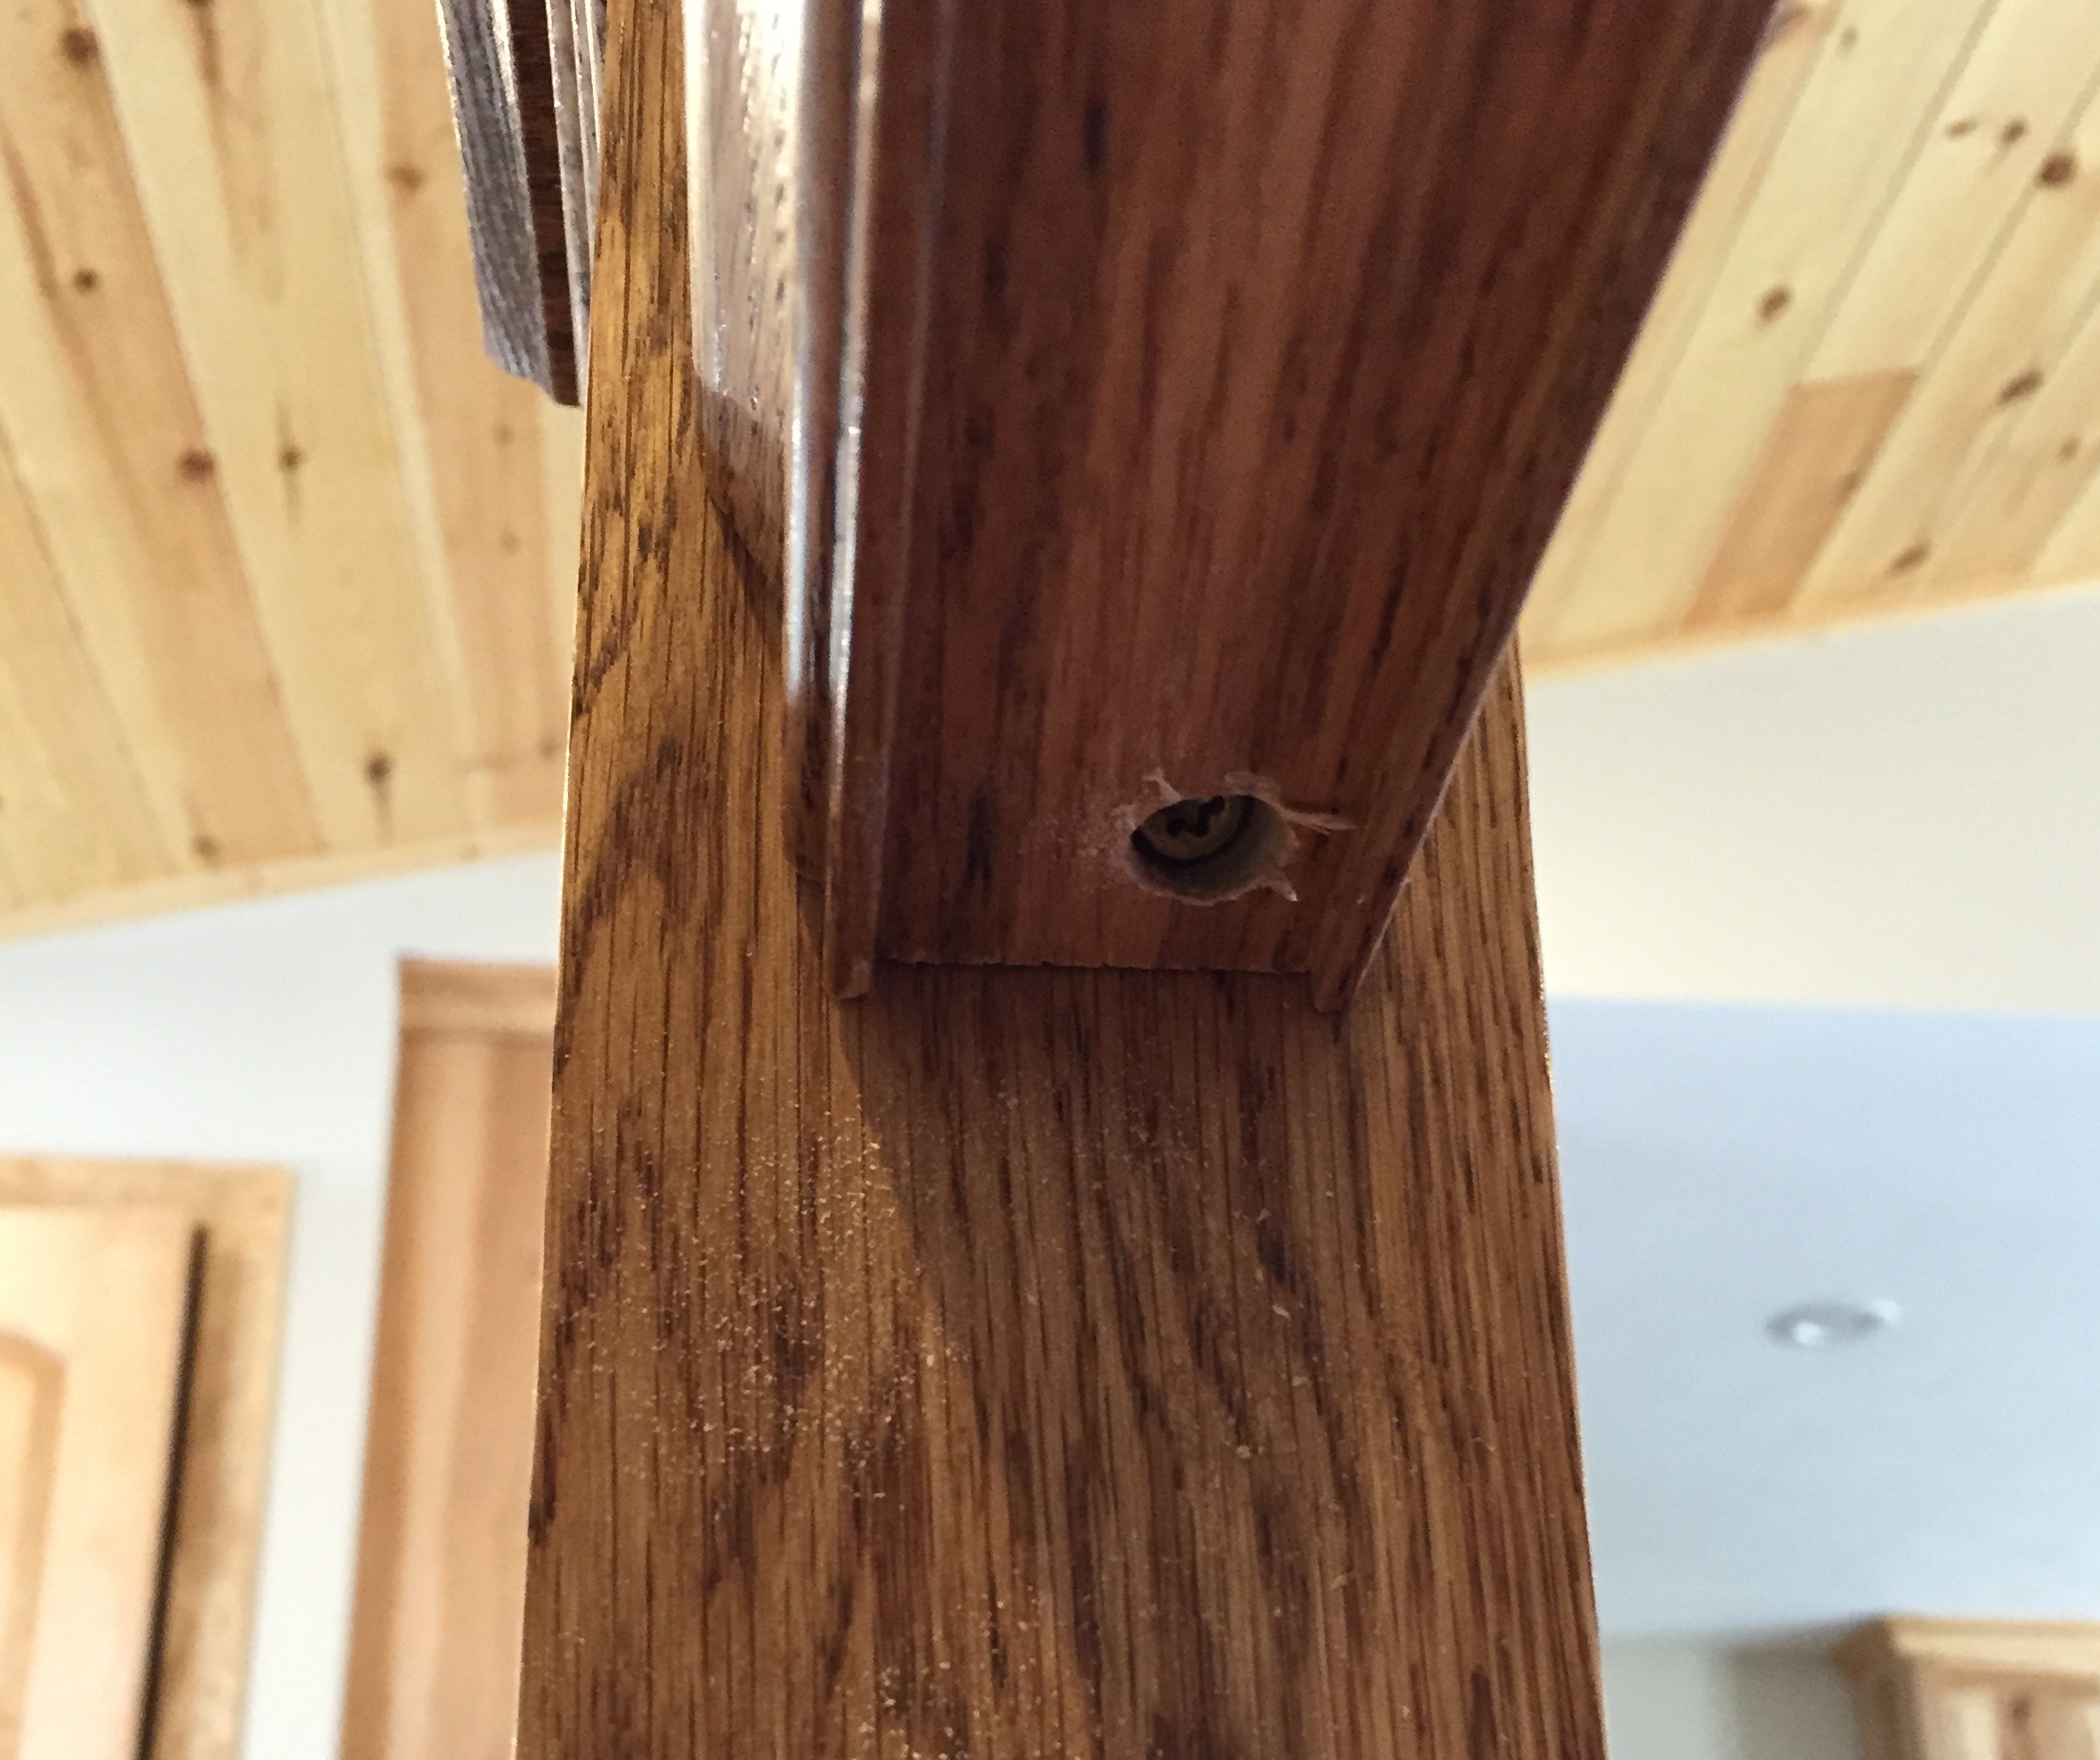
To do this, you’ll glue the post to the wall, then drive a long screw at an angle up through the bottom of the railing, through the post and into the blocking in the wall.
Now you can attach the railing to the first post that you installed. To do this, you’ll need your drill and a long screw.
Level the railing so you know exactly where it needs to go, then drive your screw at a 45 degree angle through the bottom of the rail into the post. Counter-sink the screw into to the rail. This will allow it to be covered by the fillet pieces that you’ll use while installing the balusters.
Tip: To easily hold the railing in place, take a piece of what you’ll use for the bottom railing and a baluster, and set the railing on top of it to simulate what you’ll be doing in the next step.
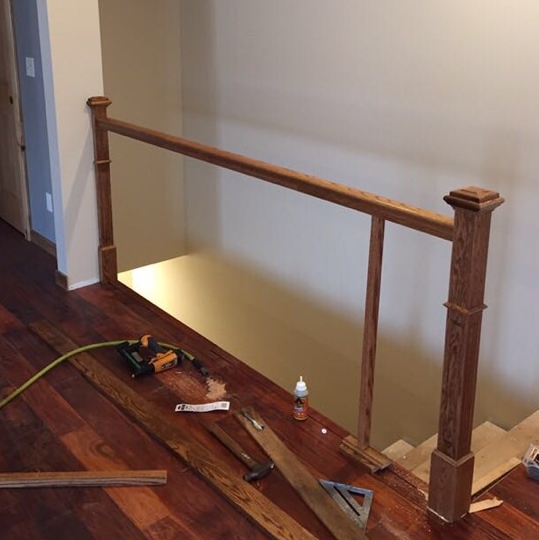
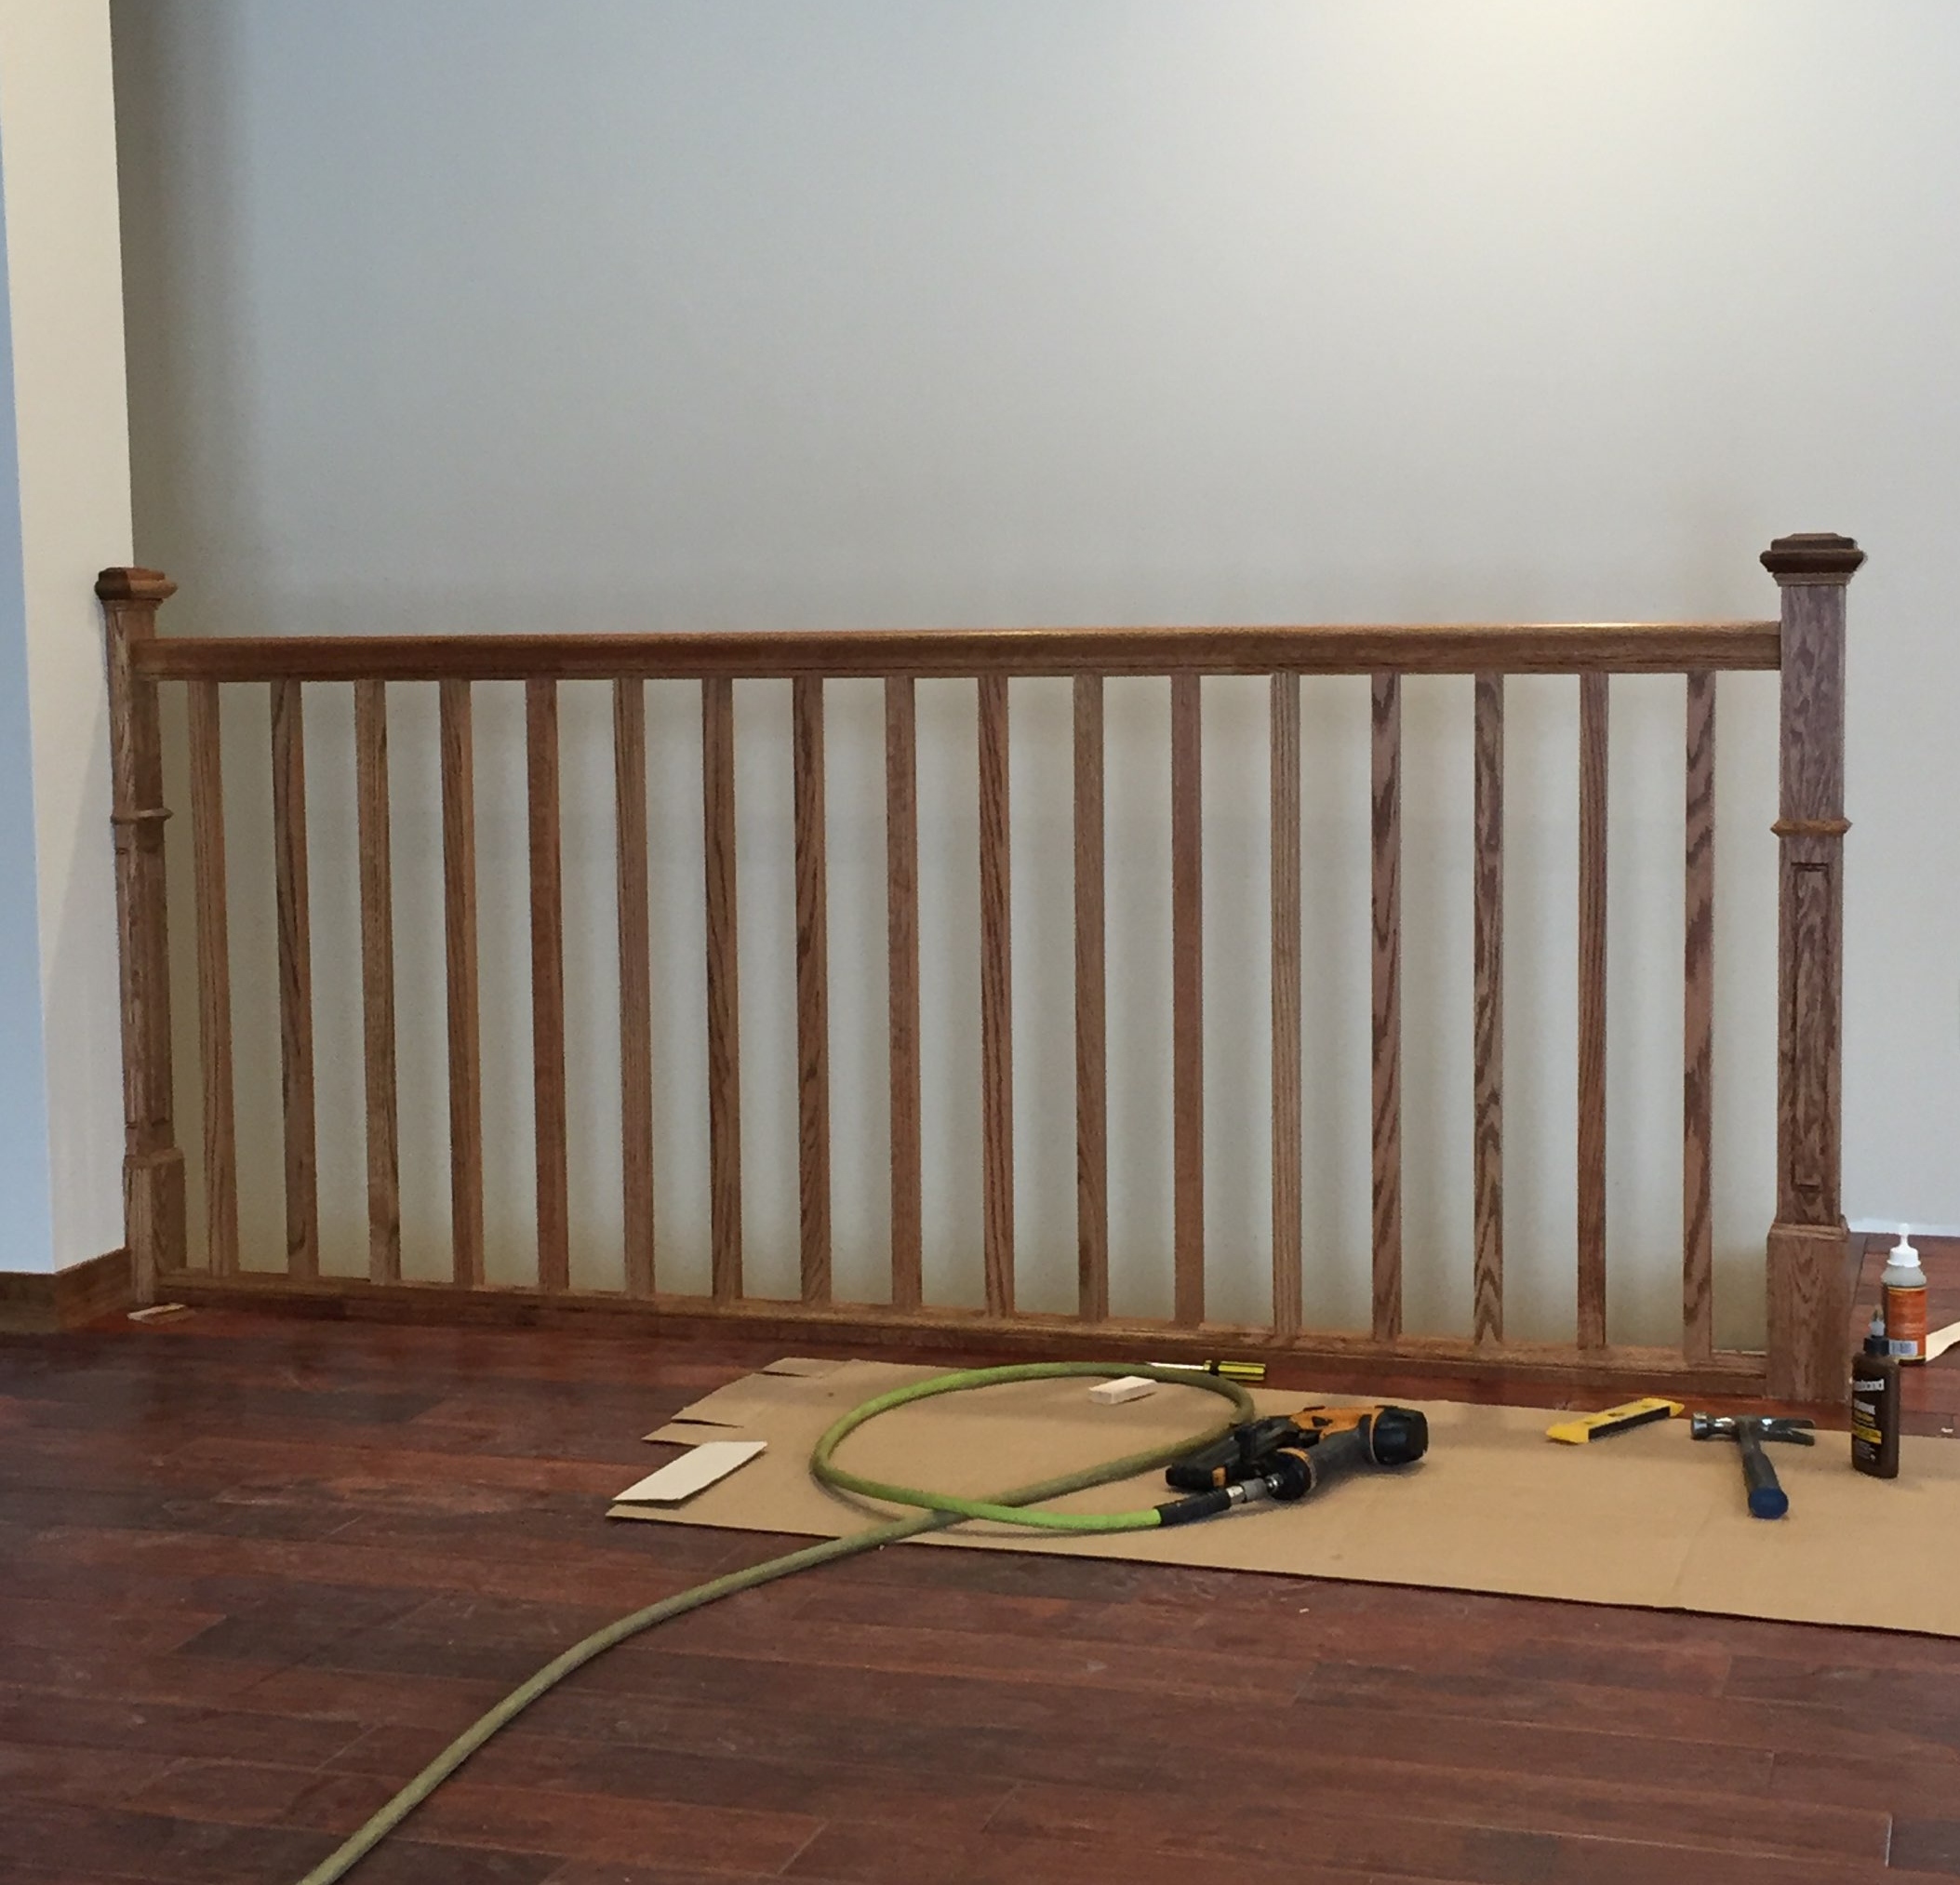
Step 3: Install Bottom Railing
Now that you have the railing and the posts set, you’re ready to start installing the bottom railing the spindles will attach to. For this example, we’re using a 1×4 along with the bottom rail to raise the top railing up a bit and give the railing a better looking appearance.
To start, measure and cut the 1×4 to fit between the two rail posts.
To secure the 1×4 to the floor, you should pre-drill holes with your drill-bit to avoid splitting the wood or the railing underneath.
You’ll want to add a long screw from the 1×4 to the floor every one foot.
After you get the 1×4 installed, you’re ready to hook that railing to the top of it.
To do this, cut the railing to fit the center of the 1×4, then glue it to the center of the 1×4. Now use your nail gun with trim nails to secure it to the top and bottom rails.
Nail where the spindles will be set, as this area will be covered by your fillet strips.
Step 4: Install the Balusters and Fillet
To begin, you’ll need to calculate how many spindles you’ll need and how big you need to cut your fillet pieces.
The spindles must be placed no more than 4″ apart to meet code. To find the distance you’ll need, you can find the center of the distance between the two posts, then you can count how many spindles you’ll need.
To figure out the exact distance between spindles, you can use this spacing calculator.
Now you’re ready to start installing the balusters. Even though the balusters and fillet should all be the same size, you’ll want to cut them as you go just in case something gets slightly off.
Glue each end of the baluster and set it between the rails, then set the fillet piece next to the baluster on the top and bottom rails.

Then use your level to make sure the baluster is plumb, and nail it to the top and bottom rails using your trim nails. Nail the fillet piece as well.
Continue this process until all spindles and fillets are in place. Remember to cut the spindles and fillets as you go.
Door Installation Has Never Been Easier
- Install 5X Faster
- Eliminate Shims
- Perfect Fit Every Time