
How to Install Extension Jambs
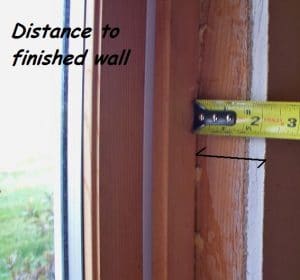
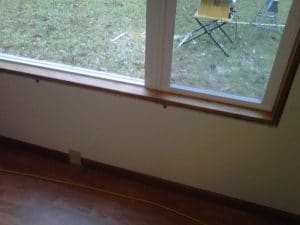
When installing vinyl or other windows and sometimes doors, you may need to add an extension jamb installation. This is particularly difficult in older homes that have thicker walls or newer homes when the extension jambs do not come pre-applied. So what is an extension jamb? It is simply adding a small piece of wood in order to make the window the same depth as your wall thickness. Using shims, this can become quite a difficult process.
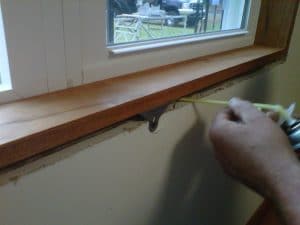
EZ-Hang takes this troublesome task and turns it into a relatively simple process. So if you install windows or doors and they are not the same depth as the wall, look at these instructions for a simple method of installing extension jambs:
Tools and Materials Needed: Extension Jamb Installation
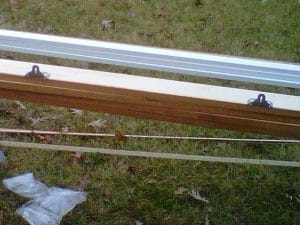
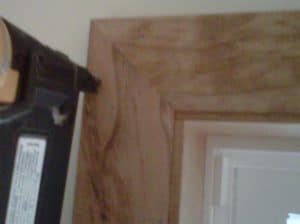
- 3/4″ thick boards for jamb material
- Table saw
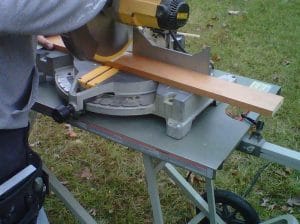
- Miter Box
- Trim gun or finish nails
- Screws and screwgun
- Insulation
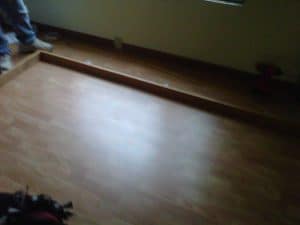
- Trim
- EZ-Hang Brackets
How to Install Extension Jambs
When installing vinyl or other windows and sometime doors, you may need to add an extension jamb installation. This is particularly difficult in older homes that have thicker walls or newer homes when the extension jambs do not come pre-applied.
So what is an extension jamb? It is simply adding a small piece of wood in order to make the window the same depth as your wall thickness. I have done this for years using shims and I must tell you, WHAT A PAIN. Here is a secret to making this EZ!!!
EZ-Hang takes this troublesome task and turns it into a relatively simple process. So if you install windows or doors and they are not the same depth as the wall, look at these instructions for a simple method of installing extension jambs:
Tools and Materials Needed: Extension Jamb Installation
- 3/4″ thick boards for jamb material
- Table saw
- Miter Box
- Trim gun or finish nails
- Screws and screwgun
- Insulation
- Trim
- EZ-Hang Brackets