Did your doorstop fail to do its job and now you’re left with an imprint of a handle in your wall? Maybe your kids decided to test how strong the walls are?
Or maybe you weren’t paying attention while moving heavy desk or dresser. In any case, fixing a hole in the wall is a straightforward job that anyone can accomplish with the right materials, tools, and instructions.
Depending on the size of the damage, learning how to repair drywall will require different steps and different materials.
For small holes that are a few inches in diameter or less, you can buy mesh patches that will cover the entire hole. Then you just need to cover the mesh with drywall mud or spackle, allow it dry, sand, and repeat.
This is one of the easiest ways to fix a hole in the wall.
For these small holes, you can buy a drywall repair kit that will include everything you need – the repair patch, spackling, putty knife, and sandpaper. It’s best to avoid these if the damage to the drywall is more than a couple inches in diameter, or if you suspect that the drywall in the area around the hole may have been weakened. Other than that, these kits are great for easily patching small drywall holes, and are very simple to use.
Learning how to patch a hole in the wall that is bigger than a couple inches will require a little more time and more tools, but it’s not too difficult and is still something you’ll be able to complete on your own.
In this case, you’ll need to cut out the area surrounding the damaged drywall and replace it with a new piece, then cover the joints with drywall tape and drywall mud or joint compound.
In this guide, we’ll go over how to repair damage to drywall that is both large and small, ranging from a filling a screw hole to cutting and repairing damage four square feet.
If you’re interested in a discussion about using mesh vs. paper drywall tape before starting your repair, you can jump ahead, then come back to the instructions.
Repairing a Hole in the Drywall
How to Fix a Hole in the Wall (small damage)
- Mesh Drywall Patch or Drywall tape
- Utility Knife
- Sandpaper or Block
- Joint Compound
- Putty Knife
After the paste dries you’ll want to sand it down. Most spackling paste dries white, but if the damage is in a highly visible area, you’ll most likely want to paint over it. For holes that are only a couple inches big, you’ll need to use the mesh repair patch or drywall tape.
Here are the steps you should follow for a smooth repair:
1. Start by clearing out the hole with your utility knife to remove any loose particles or cracked pieces.
- You’ll want to make sure the remaining drywall is solid and without any damage.
2. Sand the area with your sandpaper or sanding block and wipe off any remaining drywall dust.
- Wipe the area with a cloth to remove any dust.
3. Place the mesh patch over the hole, keeping the hole in the center.
- You’ll want to choose a patch that covers the hole by at least an inch or two in all directions.

5. After the joint compound is fully dried (24 hours), sand down any bumps or ridges, wipe the area clean and apply another layer.
- Be sure to feather it out past your original application.
- Depending on the location, you may want to repeat the process a third time.
6. Now you’re ready to prime and paint.
- If your newly repaired drywall is in a highly visible area, be sure to prime before painting to avoid any noticeable difference in the old wall and your newly repaired drywall.
How to Fix a Hole in the Wall (large damage)

- Mesh Drywall Patch or Drywall tape
- Utility Knife
- Pencil
- Drill
- Drywall Screws
- Sandpaper or Block
- Joint Compound/Drywall Mud
- Putty Knife
- A piece of wood for reinforcement
- Spare piece of drywall
- Drywall saw
The best way to do this is by cutting a square around the damage and replacing it with new drywall.
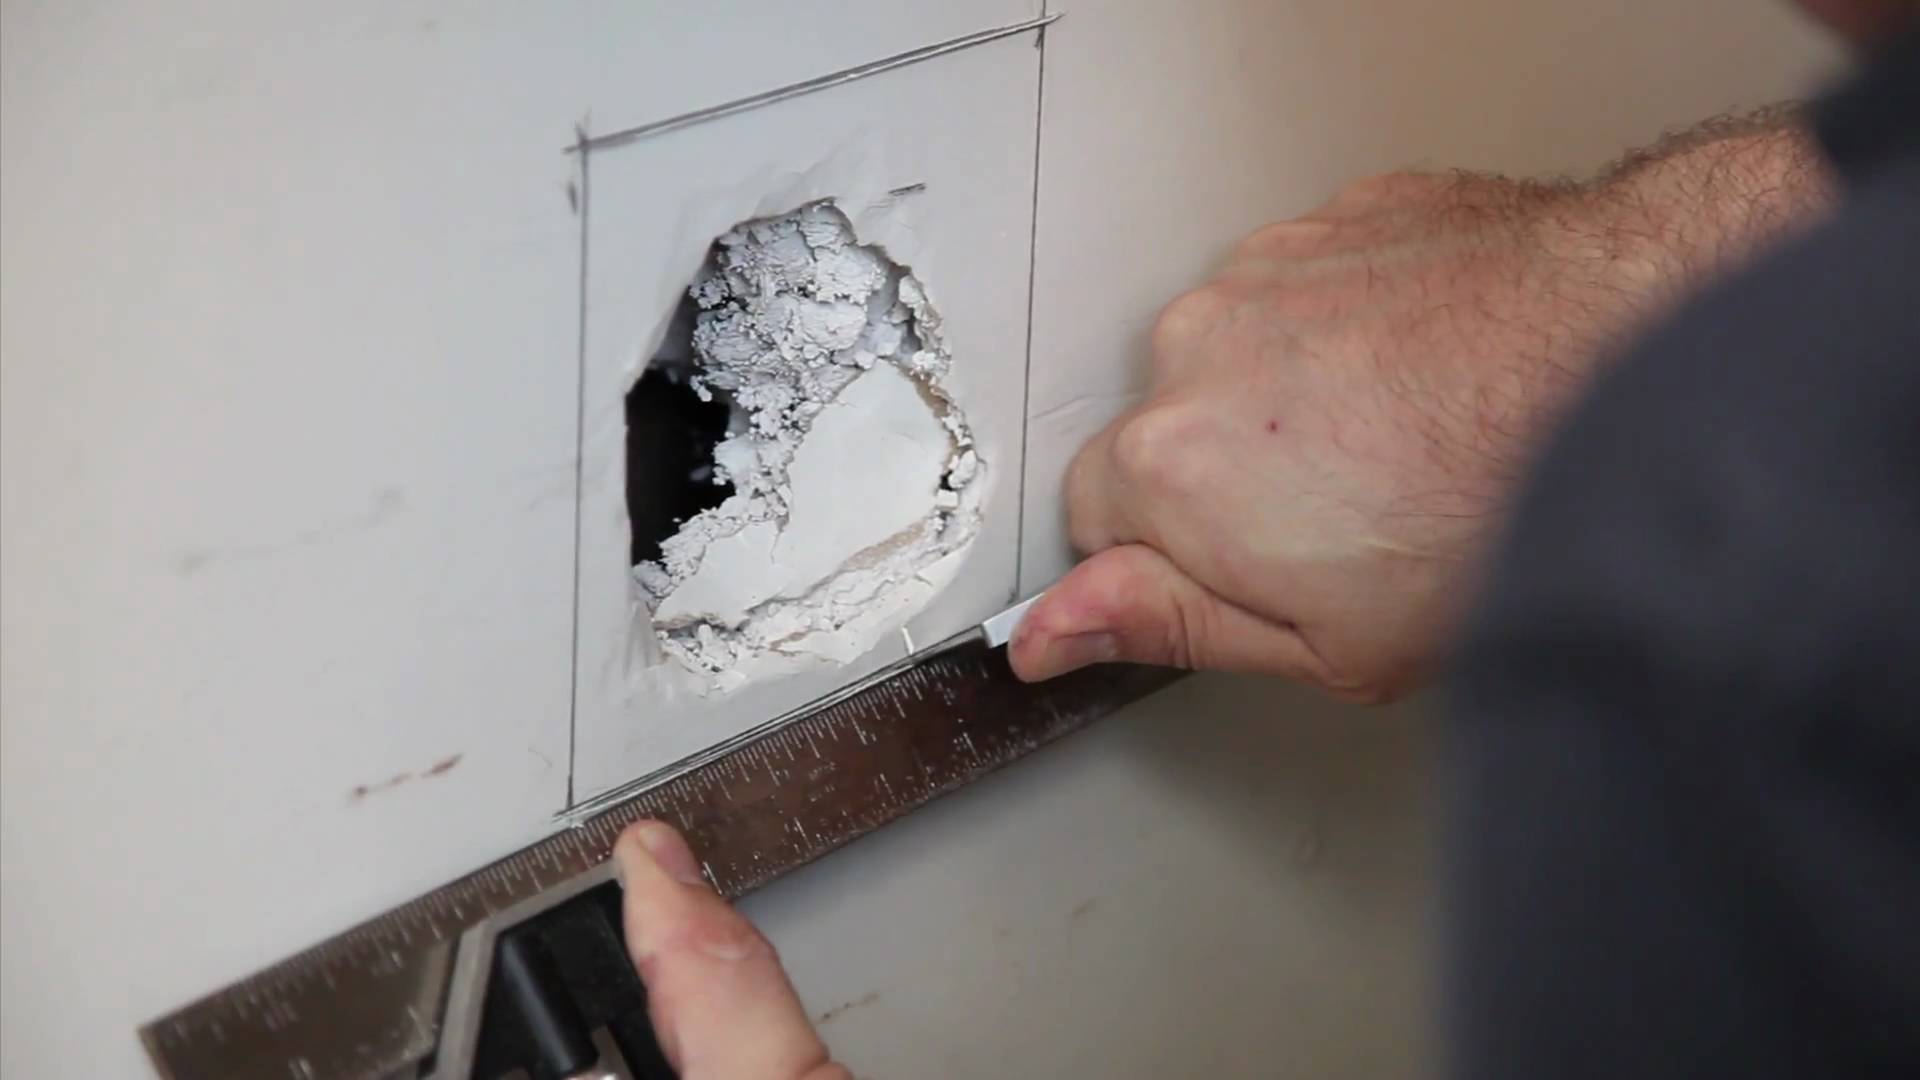
1. Start by tracing the outline of your new piece by placing it on the wall over the damaged area.
- You can buy drywall in 2’x2′ pieces, so that should be perfect for this type of damage. If the damaged area is significantly smaller you can cut the new piece to a smaller size.
- You can also just cut a square around the damaged area, then use it as a stencil for your new piece, or just measure the square you cut and cut a new one from the new drywall.
- If the new piece is slightly too big for the hole, use a drywall rasp to sand down the edges until it fits snuggly.
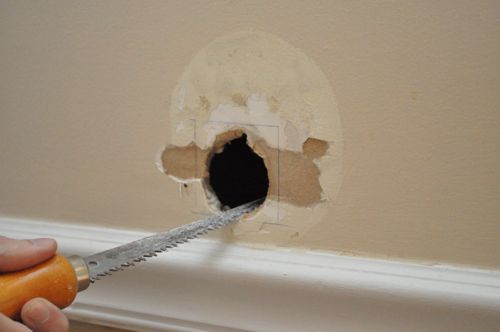
2. Next, you’ll want to score along the line you just drew with your utility knife, then finish by cutting out the damaged piece using your drywall saw.
- Make sure there aren’t any wires where you’ll be cutting first.
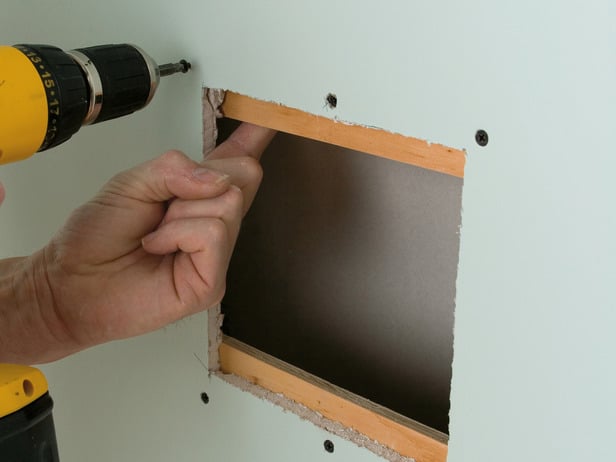
3. Now you’ll need to attach something for the new piece of drywall to attach to. Use a piece scrap wood that isn’t too thick (less than 1″1/2).
- This backing piece should leave a couple inches on the top and bottom of the hole.
- Depending on where the nearest stud is will determine where you should put this reinforcement piece.
- Put it near the edge of the most exposed area where there is no stud.
4. Attach the wood by placing it behind the original drywall and screwing through the drywall into the wood.
- Make sure your screw goes just below the drywall so as not to be protruding.
- Be careful not to drill too far, or you’ll crack the drywall.
6. Tape the joints surrounding your new piece.
- If you’re using mesh tape, you can just stick it on over the joints.
- If you’re using traditional drywall paper tape, you’ll need to apply a thin layer of joint compound (about 1/8″) first, then cover the joints with paper.
7. Cover the paper or mesh in joint compound and smooth it out by scraping with the direction of the tape.
8. The next day, when the mud has dried, scrape off the ridges and bumps with a broad knife or sand them down, then apply another coat of drywall mud.
9. Repeat step 8 for the third and final time after waiting another 24 hours.
- Each time you apply another layer, you should make the mud blend into the wall covering an area just bigger than the last coat.
- By the final application, the entire new piece (depending on its size) should have been covered in mud, along with its surrounding area, up to about six to twelve inches. (See image below)
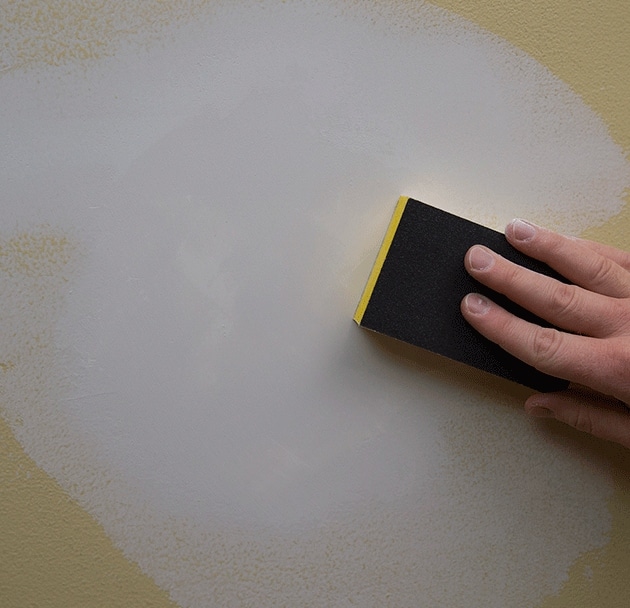
10. Allow the mud to dry and sand for the final time.
- A sanding block with a mesh screen designed for drywall works best.
- Feather out the edges where you’ve been applying the mud to level and blend the new section with the wall.
11. Wipe off the remaining dust with a damp cloth.
12. Now you’re ready to prime and paint.
Mesh VS. Paper Drywall Tape
The unsatisfying but correct answer is: it depends.
Paper Tape
Paper drywall tape needs to be forced into a thin layer of joint compound (about 1/8″) as the back isn’t sticky, unlike mesh tape. This can be somewhat tricky for beginners because it’s important to get all of the bubbles out and make sure the tape is tightly sealed. If you aren’t careful, the tape can wrinkle of move off the joint while working in the drywall mud.
Paper tape can be used with drying or setting type compound. It is also inexpensive and makes a very strong joint. Unlike mesh, the paper won’t flex. This is particularly good for rough or uneven edges.
Fiberglass Mesh Tape
Mesh tape is adhesive on one side, so you simply just have to apply it over the crease of the drywall joints. There’s no need to apply a base layer of mud underneath. Simply apply the joint compound over top of the mesh tape.
This can make it much simpler to use for beginners compared to paper tape. However, mesh tape is about three times the price of paper.
Since the tape is so flexible, manufacturers recommend using a setting type compound for the first layer. This can add a little bit of extra work to the process.
For a very detailed discussion on this topic, we’d recommend you check out the Fix It Home Improvement podcast episode on drywall tape and patches.
Door Installation Has Never Been Easier
- Install 5X Faster
- Eliminate Shims
- Perfect Fit Every Time