
Despite the initial cost and time, learning how to build a raised garden bed can save you time and labor in the long run. A raised garden bed allows you to plan for optimal sun exposure, and to use the most conducive soil type for whatever it is that you plan to grow.
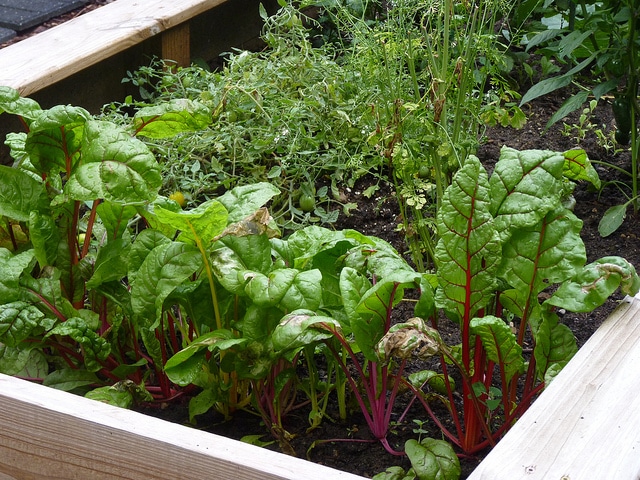
Raising the soil off from ground level also enables maximum sun exposure and minimal weed growth. It also means less bending and twisting for you while planting and tending to your garden. Raised garden beds can help optimize plant growth in a condensed area, or allow vegetable growth in places that would otherwise be too desolate or formidable.
If you live in a rural area, raising your vegetable garden can also deter rabbits and other critters from munching on your food. Where we live there are tons of deer, so in this case, it might be a good idea to build a garden cover with some PVC pipe and screen or netting.
Materials Needed to Build a Raised Garden Bed
There are many ways to go about building a raised garden bed, but using wood seems to be the most common and the most aesthetically pleasing. Pre-made kits tend to degrade and warp over time, and can also be finished with harmful chemicals that could be damaging to your soil, and in turn, food.
Other, less common options include cinder blocks, concrete, and rocks, but these all require more initial work and maintenance. In my opinion, they aren’t as visually appealing either.
Building your garden out of rocks can add a nice rustic touch to your garden, but it will then also be much more prone to weed and insect infestations.
Concrete and cinder blocks can cause your garden to overheat in the summer, and make it harder to move or take down if you want to change locations.
Choosing Your Lumber
It’s best to stay away from lumber that is treated or preserved with chemicals that can be toxic, especially if you plan to use your garden to grow edible food. The safety of using treated wood is inconclusive, but the general consensus is that toxins do leach out of the wood and into the soil, and are then taken up by the plants (OSU).
For this guide, we’re going to be using cedar 2×12’s for our garden bed. Cedar is a naturally rot-resistant hardwood, and is also generally immune to insect infestations, making it the ideal lumber for a raised garden bed. Cedar made beds will last anywhere from 10-20 years in most cases.
Other viable options are redwood or locust, and douglas fir. Redwood and locust will be high quality and last a long time, but are generally more expensive than the cheaper alternatives. Douglas fir tends to be the cheapest option, but will generally only last about 5-7 years.
If you aren’t sure how long you’ll want to keep your raised garden bed, or how long you’ll be living in the same place, it might be a good idea to go with douglas fir. This could save you up to 50% of the cost.
I chose 2×12’s because plants generally need about 6-12 inches of soil to adequately grow.
A good size dimension for a raised garden be is 8ft x 4ft. This gives you plenty of length to grow a wide range of plants or vegetables, but also ensures that your bed isn’t so wide that you can’t reach the middle from either side.
Other Materials Needed
- 3 – 2x12x8’ Lumber of your choice
- Circular Saw
- Galvanized Deck Screws
- Rake
- Level
- Drill
- Topsoil/Compost
- Corner Posts
- Garden Bed Liner
If you’re building a smaller garden bed, it might be a good idea to add the optional corner posts, and stick them in the ground to prevent movement, but for our case, 8’x4’ will give our bed plenty of weight, rendering the posts unnecessary.
Landscape fabric or garden liner is unnecessary if you’re living in an area where the ground soil is high quality and nutrient rich. If this is the case, you can use it to your advantage, and build your garden right on top of the ground soil, with no barrier. However, liners will help prevents weeds from growing up into your garden.
There are many commercially available options for garden liners. Just search around to find the best price and size for your project. I’ve even seen people use old carpet or rugs to line their garden beds.
Step 1: Location
Start by selecting the location for the garden bed. The ideal location will have the most direct sunlight, and not be blocked by shade from the surround trees or buildings. You’ll want to choose a somewhat level spot, and make sure there’s plenty of room to walk around all sides of the garden.
Step 2: Preparing the Ground
Now you’ll want to prepare the ground where you’re going to set your garden bed. Start by marking the general area where you plan to have it sit. You can do this simply by drawing a line in the ground with your rake.
Next you should pull any weeds from the area. Or you could try using some organic weed killer.
Then you’ll wake to rake and loosen up the ground. If the soil is extremely dense or weed covered it might be a good idea to use a rototiller for the best results.
If you have your garden liner pre-cut, you can now lay it down where the garden bed will. If not, it might be easier to cut after assembling the bed.
Step 3: Constructing the Raised Garden Bed
You’re now ready to begin building the actually garden bed.
Start by cutting one of the 3 pieces of lumber in half. The resulting two pieces will make up the shorter ends of the garden bed.
Next, screw the shorter end piece to the longer side piece using your galvanized deck screws and drill.
You’ll want to put the shorter piece on the inside at the end of the 8 ft. 2×12, so as not to lose any square footage in your finished garden bed.
- Fasten two screws in through the outside of the 8 ft. side board, and into the 4 ft. end piece. Make sure the pieces are plumb and level when fastening.
- Screws should be fastened about 1 ½” from the top and bottom of the outside piece.
Step 4: Adding the Soil
After your garden bed is assembled and placed in the correct spot on the ground, it’s time to ensure your line is in place, and add the soil.
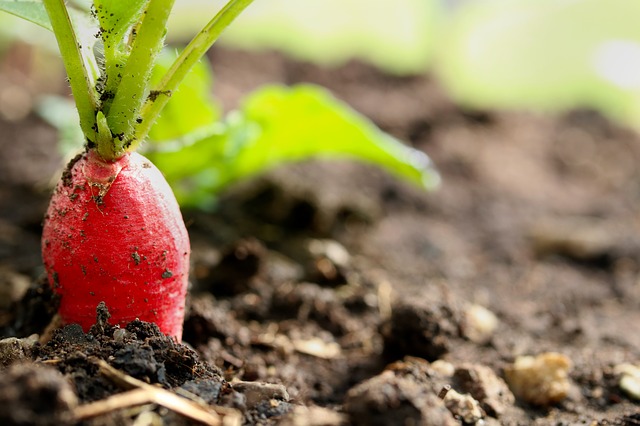
The soil type and composition can vary depending on what you intend to grow, but is ultimately the most important step in building your garden. Using the wrong soil, or nutrient deficient soil is the biggest factor in whether your plants or vegetables will adequately grow or not.
Generally a mix of topsoil, compost, and other organic materials such as peat moss will be best for a vegetable garden. It’s best to do some research after deciding what you’ll be growing in order to make the optimal combination for nutrient dense soil.
Remember, raised garden beds may need extra watering in the beginning stages to ensure thorough saturation and plant growth.
We would love to hear what other tips or tricks you have for building a raised garden bed! It’s always interesting to see the different variations and adaptations that can be applied depending on need and location.
5 Comments
Leave a Reply to Trey Gordon Cancel reply
Door Installation Has Never Been Easier
- Install 5X Faster
- Eliminate Shims
- Perfect Fit Every Time


Great post. I personally would go with douglas fir just for the price.
I think douglas fir is a good option as well. For what most people are looking for, 5-7 years is plenty for the life span of the garden.
Nice!
Great post, this would lend itself well with square foot gardening.
Thank you, Steve! I agree. raised garden beds do seem to be great for getting the most out of your garden, especially in a small area.