image: lowes.com
In this guide, we’ll cover how to cut and install trim and casing for both doors and circle top windows. We’ll cover some commonly overlooked tips and tricks that will help you get the perfect installation.
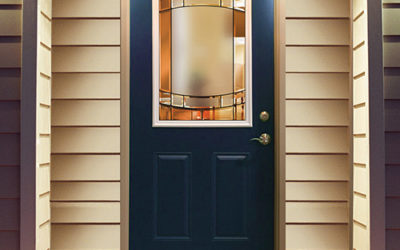
How to Install Door Casing
Trimming a door is something that takes practice to get really good at. With a few fundamental tips, you can learn to trim a door with professional looking results.
The first thing you’ll want to do before beginning to install your casing on the door is make sure the drywall and jamb of the door are flush. You can test this by holding a piece of the trim on the edge of the jamb and the drywall. If the trim is angled, or doesn’t fit level to both the jamb and the wall, you’ll need to sand the wall enable the casing to fit properly.
- The distance from the edge of the trim and the edge of the door frame is called the reveal. This distance is normally 1/8” to ¼”.
- Anything larger than that just doesn’t look good. Cut the top door casing first, you need to measure the inside of the door jambs and add distance for both sides of the overlap. So if the inside of the door frame measurement is 30” add ½”, this would be the short side of the miter angle cut.
- Install the top or header piece first. This will allow you to adjust your side casing miters is needed. Now you can measure to the top of the installed casing or set it against the wall
backwards and mark the top.
- Cut the side piece and check the fit. You may need to make slight angle adjustments to get the miter to fit tightly. Do this by moving the angle of your sliding miter saw in the direction you need.
- Glue each miter cut with wood glue, this will help in keeping the cut tight as the wood expands and contracts.
- Nail the trim in place with
a finish nails or a pneumatic trim nailer. A light gauge brad nailer works extremely well for this as the hole it leaves is very small and easy to fill with putty. Nail spacing should be no more than 16” on center. You don’t want the trim to rattle on the door.
- Fill all the nail heads with the appropriate material and finish
painting or staining the door and trim if you haven’t already done so.
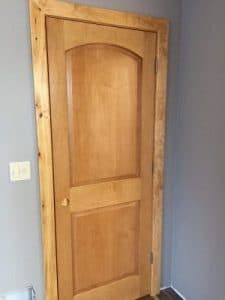
Trimming a Door With Casing
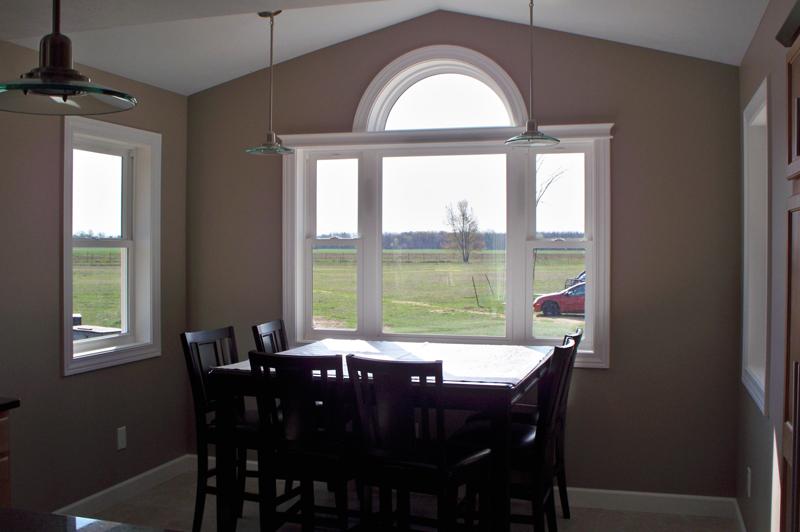
Trimming Circle Top Windows
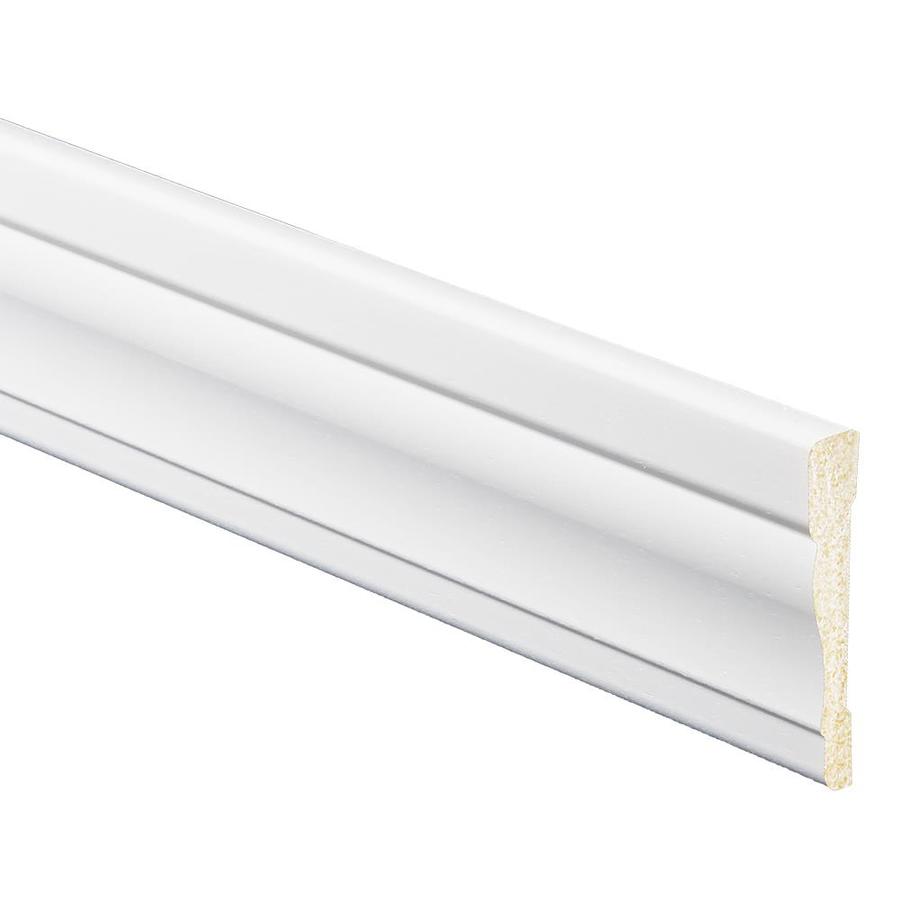
There are many ways and various materials used to trim a circle top window. First you will want to decide if the window trim will be painted or stained. This knowledge will let you make the best choice of materials. If your trim will be painted your options are wood, a composite or a flexible rubber trim. Most circle top trims can be ordered to fit the arch.
However, flexible rubber trims allow you to fit the trim to your windows size. If you use wood, the trim will most likely be finger jointed. This is fine and will be concealed if painted. If you stain it the joints will show through and you will have a slight color variation from piece to piece.
A composite material would again be a paint grade trim. These trims are normally smooth and take paint well. If you have a wood stained window, you will need to get a wood trim to match. The best way is to get the circle top trim is from the window manufacturer.
This way you will get the correct radius. Not all circle tops are a true half circle radius. Be sure to determine this before you purchase your curved window molding. Common wood trims would be made from oak, pine, or cherry. Be sure to ask if there will be finger joints or made from a laminated veneer.
The laminated veneer will give a more uniform color when stained.
Adding a little flair to the window will help with it’s appearance. Circle top trim ideas are endless. You can add crowns, coves, shelves, plinth blocks and more creating a rich looking window. Take some time put some thought into it, you’ll be happy with the finished project if you do.
Back Cutting and Installing Trim with Perfect Miter Joints
The process of back cutting, or sometimes called back-bevel, quite simply is cutting a little more off the back side of the cut so that there is less material towards the rear edge of the trim piece. By removing slightly more material from the back side of the trim piece (not too much) when making the cut you ensure that the front side extends out such that only the front edges of the two adjoining pieces of trim actually touch.
This enables a thin edge on the front side of the trim, which is much easier to get a tightly joined seam. There are a couple of ways to accomplish this. Both are quite easy and can be done by anyone.
- If you have a compound miter saw, change the angle of the saw to 1 or 2 degrees off 90. This gives a slight back cut on the trim. Remember you want to still cut the trim on a
45 degree angle your changing thebevel of the saw in relation to the trim. - The next method simply involves setting a thin strip of material under your trim before you cut it. It should be about 1/8 to 1/4 inch thick. Using this method you won’t need to keep moving and adjusting the angle of your miter saw. This method can also be used with a out a compound miter saw.
Yes, there will be a slight gap towards the back, however, you can minimize the gap by limiting the back cut to just over-cutting one or two degrees. This will ensure that the front edges of the adjoining trim pieces fit together perfectly at their outer edges. Any gaps are usually not visible once the trim is installed.
Door Installation Has Never Been Easier
- Install 5X Faster
- Eliminate Shims
- Perfect Fit Every Time